Improving the MD-(UV)380/RT3(S)/GD-77 Charger
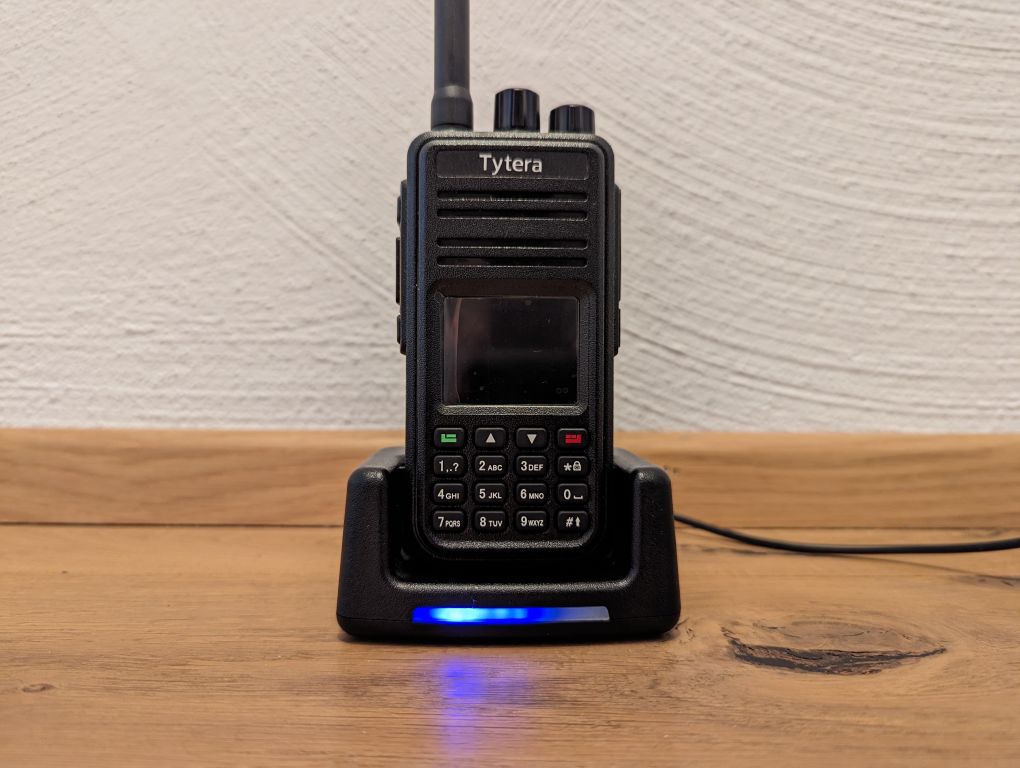
Posted on 2023-07-26 by DK1MIThe battery chargers of many chinese HT’s are known to be unreliable, noisy and to overcharge the battery.
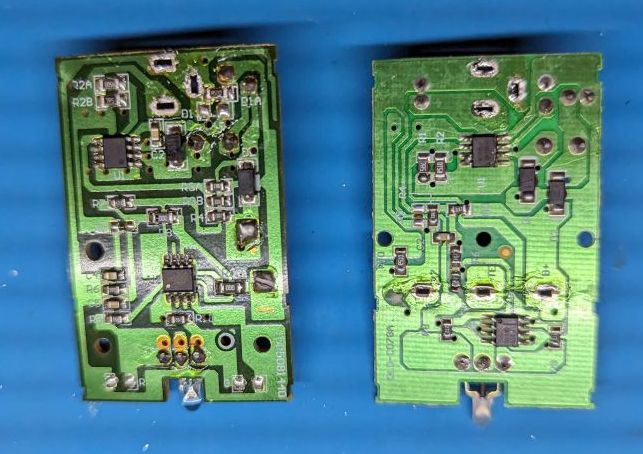
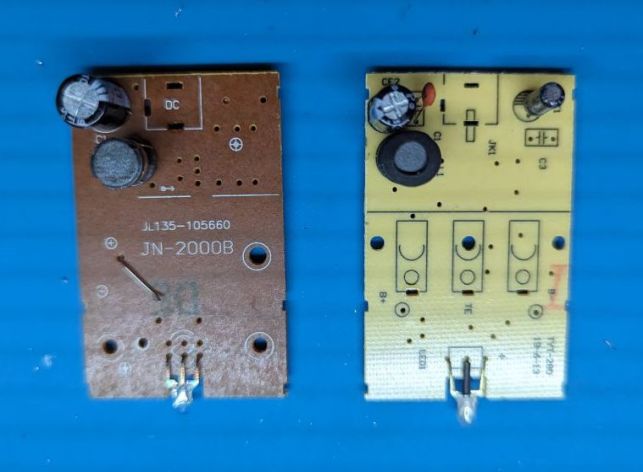
The TYT MD-380, TYT MD-UV380, Retevis RT3, Retevis RT3S and the Radioddity GD-77 share the same charger cradle with similar electronics inside. The following picture shows the PCBs found in the MD-380 (left) and the GD-77 charger (right):
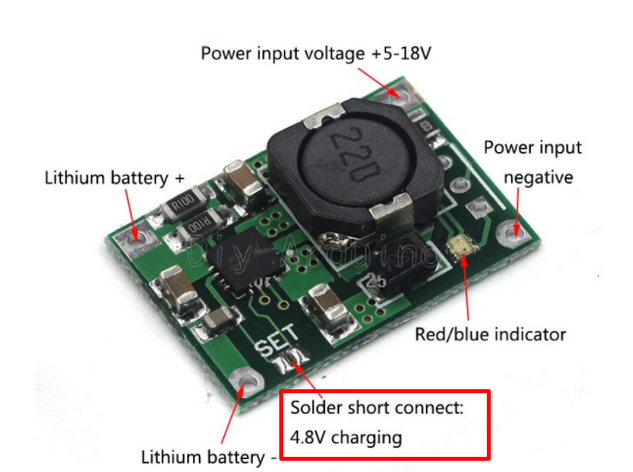
I’ve read about a very easy and affordable modification for these chargers here: https://kikuyumoja.com/2018/04/18/8-4v-ladeplatine-fur-das-dmr-tyt-md-380/. The goal is to exchange the charger’s guts with a small TP5100 board:
After I ordered and received 5 of these PCBs for 6€, I performed the following steps of the modification:
- desolder the 3 metal contacts which are led out of the housing
- desolder the DC connector from the PCB
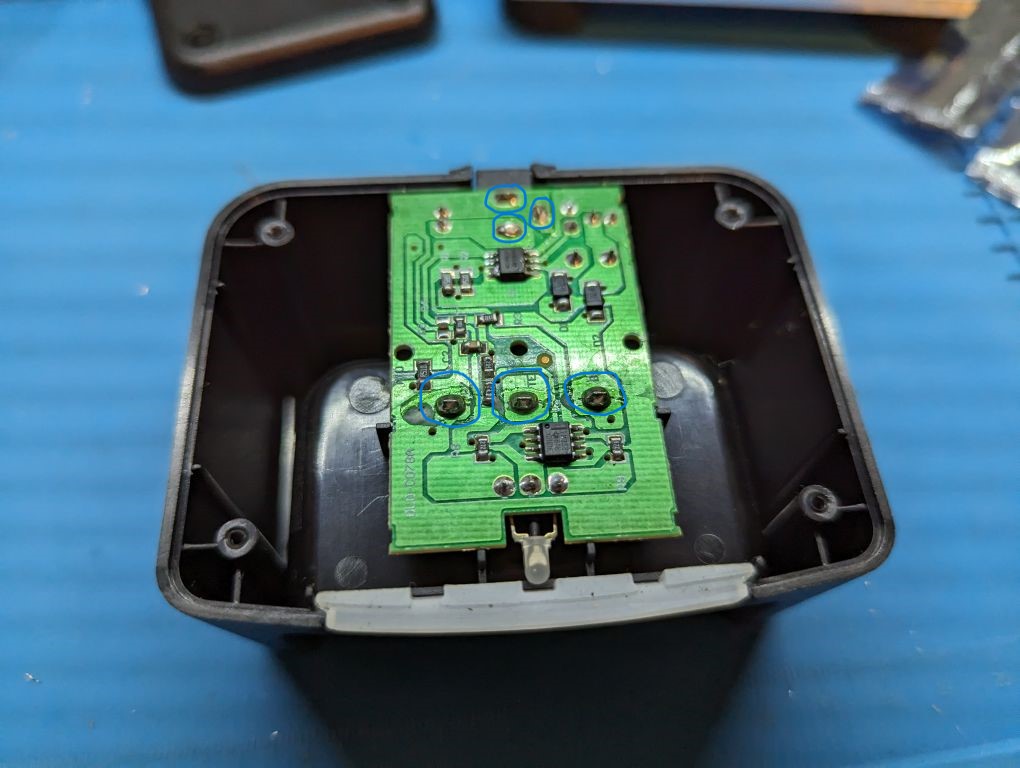
- solder a 2-wire cable to the DC jack and hot-glue it into the back of the charger. I’ve used painter’s tape to hold it in place while the glue was curing
- solder these wires to the power input pins of the TP5100
- solder two wires to the lithium battery pins of the TP5100 and solder them to the left and right metal contacts according to the following picture:

- bridge the pad labled “set” on the TP5100 (not shown in the picture)
- hot glue the TP5100 as shown in the picture with the LEDs facing to the front
That’s it. The final result will be a much more reliable charger that still shows its state via a red (charging) and a blue LED (charging done).