Building the 3D printable Hadley Telescope
Posted on 2025-12-14 by DK1MIIntroduction
My kids, who are still quite young, often ask questions about space and astronomy. So I asked two friends for their opinion on which telescope I could buy for my children (and, of course, for myself). I had thought about a beginner’s telescope for around 200 euros and assumed that you couldn’t go far wrong with that. However, I was proven wrong: a very good beginner’s telescope is apparently a so-called Newtonian telescope which “is composed of a primary mirror or objective, usually parabolic in shape, and a smaller flat secondary mirror. The primary mirror makes it possible to collect light from the pointed region of the sky, while the secondary mirror redirects the light out of the optical axis at a right angle so it can be viewed with an eyepiece.” (source: Wikipedia).
The best thing about this variant is that it is easy to build yourself. Even better is that you can print most of it yourself with a 3D printer. After doing some research, I decided on the following variant:
I chose the Hadley Telescope by the designer Neumo as a basis. However, I decided to also use his magnet modification, which was published later and can be found here. What was still missing was an eyepiece holder for which there are multiple options available.
Here’s a list of all printables.com projects I used parts from:
- Hadley Neumo Telescope
- Magnetic Parts - Hadley Neumo
- Hadley Collet Focuser M5x12 Remix
- Hadley 1.25" Focuser Options
- Sturdy Mount for Hadley Telescope
- Cheshire Collimation Eyepiece for Reflector Telescopes (1.25 in, Optional Crosshairs)
Neumo has created a very nice project manual that can be found here: Manual
It is important to know that Neumo’s work is based on the Astronomical Telescope “Hadley” - an easy assembly, high performance Newtonian. One should not only have a look at the original project description and comments but also at the original creator’s manual.
Parts needed
The following is a list of parts I’ve bought/used for the telescope itself:
- SUNLU PLA+ 2.0 grey
- SUNLU PLA+ 2.0 black
- Bambu Labs PLA Basic green
- 3x 100x12 mm aluminium tubes
- 6x3 mm magnets
- Silicone super glue
- 6mm eye piece
- Primary Mirror (Dia 114 mm, 900 mm Focal Length)
- Secondary Mirror (Dia 25 mm)
- 4 light springs (yellow ones like you use for heat beds 25x10x5 mm
- 100x M3 threaded inserts M3 X D5.0 X L4.0
- 60x M5 threaded inserts M5 X D7.0 X L8.0
- lots of M3 Screw M3x8
- lots of M3 Screw M3x12
- some M3 Screw M3x30
- lots of M5 Screw M5x12
- 3 M5 Screw M5x40
- Tripod Nut 1/4”-20, 7/32” T
And for the stand:
- SUNLU PLA+ 2.0 grey
- 4x 100x12 mm aluminium tubes
- 19 x M4x12 hexagon socket head screws
- 19 x M4 hex nuts
Here are most of the above listed non-printable parts with only the mirrors missing yet:

Building the Telescope
First I started with printing all the necessary parts. The following image shows that there are quite a lot of them:

I’ve then glued the black baffle sleeve into the baffle body. All other sleeves hold perfectly fine without adhesive:

Next step was to glue the magnets into the corresponding holes of the upper and lower telescope parts as well as in the lids and accessories. Following this, I’ve melted the threaded inserts with a solder iron into countless holes of the printed parts:


The upper part as well as the lower part of the telescope should be assembled before the mirrors will be glued - at least this was easier for me this way:


To attach the mirrors to their mounts, you will need silicone instant adhesive. Just a few drops are sufficient. For the large mirror, apply the adhesive to the three pads; for the small mirror, spread it over the beveled surface.
Here you see the secondary mirror mounted to the spider:

And here the primary mirror installed into the lower tube assembly:

Once the adhesive has cured for 24 hours, the telescope can then be assembled. The following pictures show the finished telescope standing on a 3D printable mount (please find the link further up in this article):

Collimation
As an astronomy newbie, I initially had no idea what collimation means and the process seemed complex but it really is doable. Collimation is the process of aligning both mirrors so that the incoming light will be reflected by the mirrors in a way that the final reflection hits the eye piece properly. The process is described in great detail in the original creator’s manual. This final setup step of the telescope requires a collimation tool which luckily can also be printed: Cheshire Collimation Eyepiece for Reflector Telescopes (1.25 in, Optional Crosshairs).
In overall the whole process consists of:
- aligning the secondary mirror (the small one right behind the eye piece)
- aligning the primary mirror (the big one)
- setting up the initial focus by figuring out the optimal distance between the upper part of the telescope with the eye piece and the lower part with the bigger mirror
- balancing the telescope by moving the middle part (which is used to mount the telescope to a stand) so that the telescope is in balance if placed horizontally on a flat surface
First Use and Verdict
I honestly have no idea if I’ve set up the telescope properly and I have only tested it so far by observing some distant trees (approximately 1 km away) from a window of the upper floor but the results are already promising. Finding a proper solution to take photographs with this telescope is one of the next things I am trying to figure out. For a first test, I have taken a picture of these trees by holding my phone’s camera to the eye piece.
This is the view out of my window with the group of trees in the background (I blurred my neighbors’ houses to protect their privacy):

And the pic I have taken with the phone through the telescope’s eye piece:

Both, the original design and the remix of the Hadley telescope are impressive. Every single one of the printable parts is nicely engineered and seems to be the result of lots of love and labour. Both manuals are exceptionally well made, something I haven’t seen so far in 3D print projects.
Overall, I’ve paid around 140 Euro including shipping for all the parts. These costs don’t include the filament as it would be difficult to calculate.
As soon as we have clear night skies again, I will continue my experiments and document them in another post.
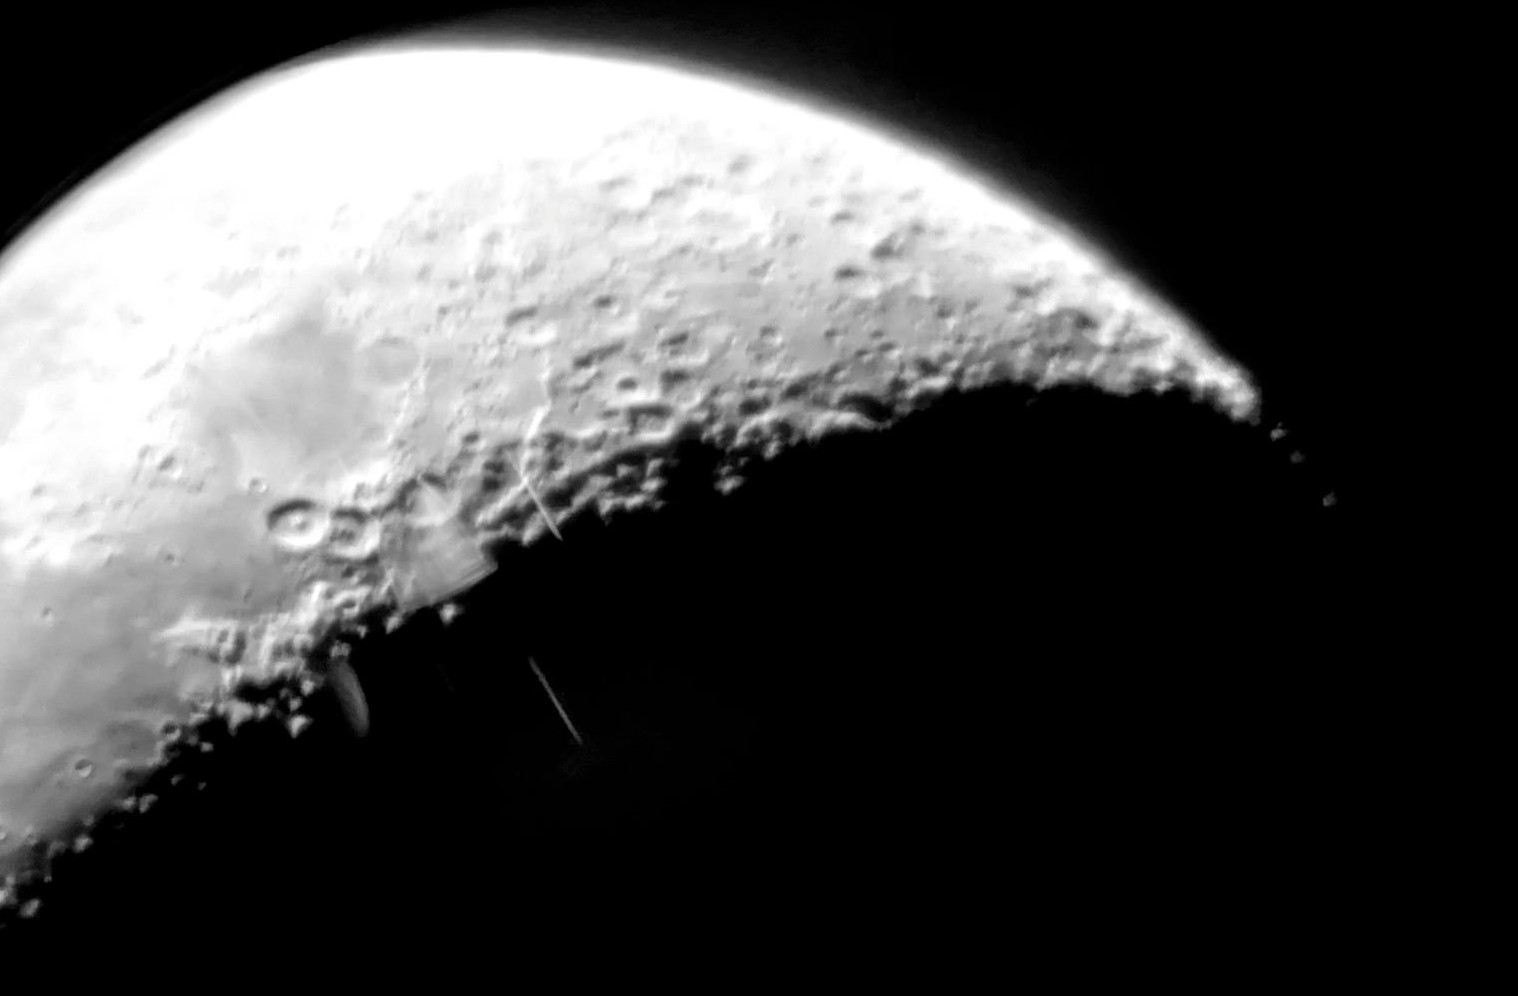
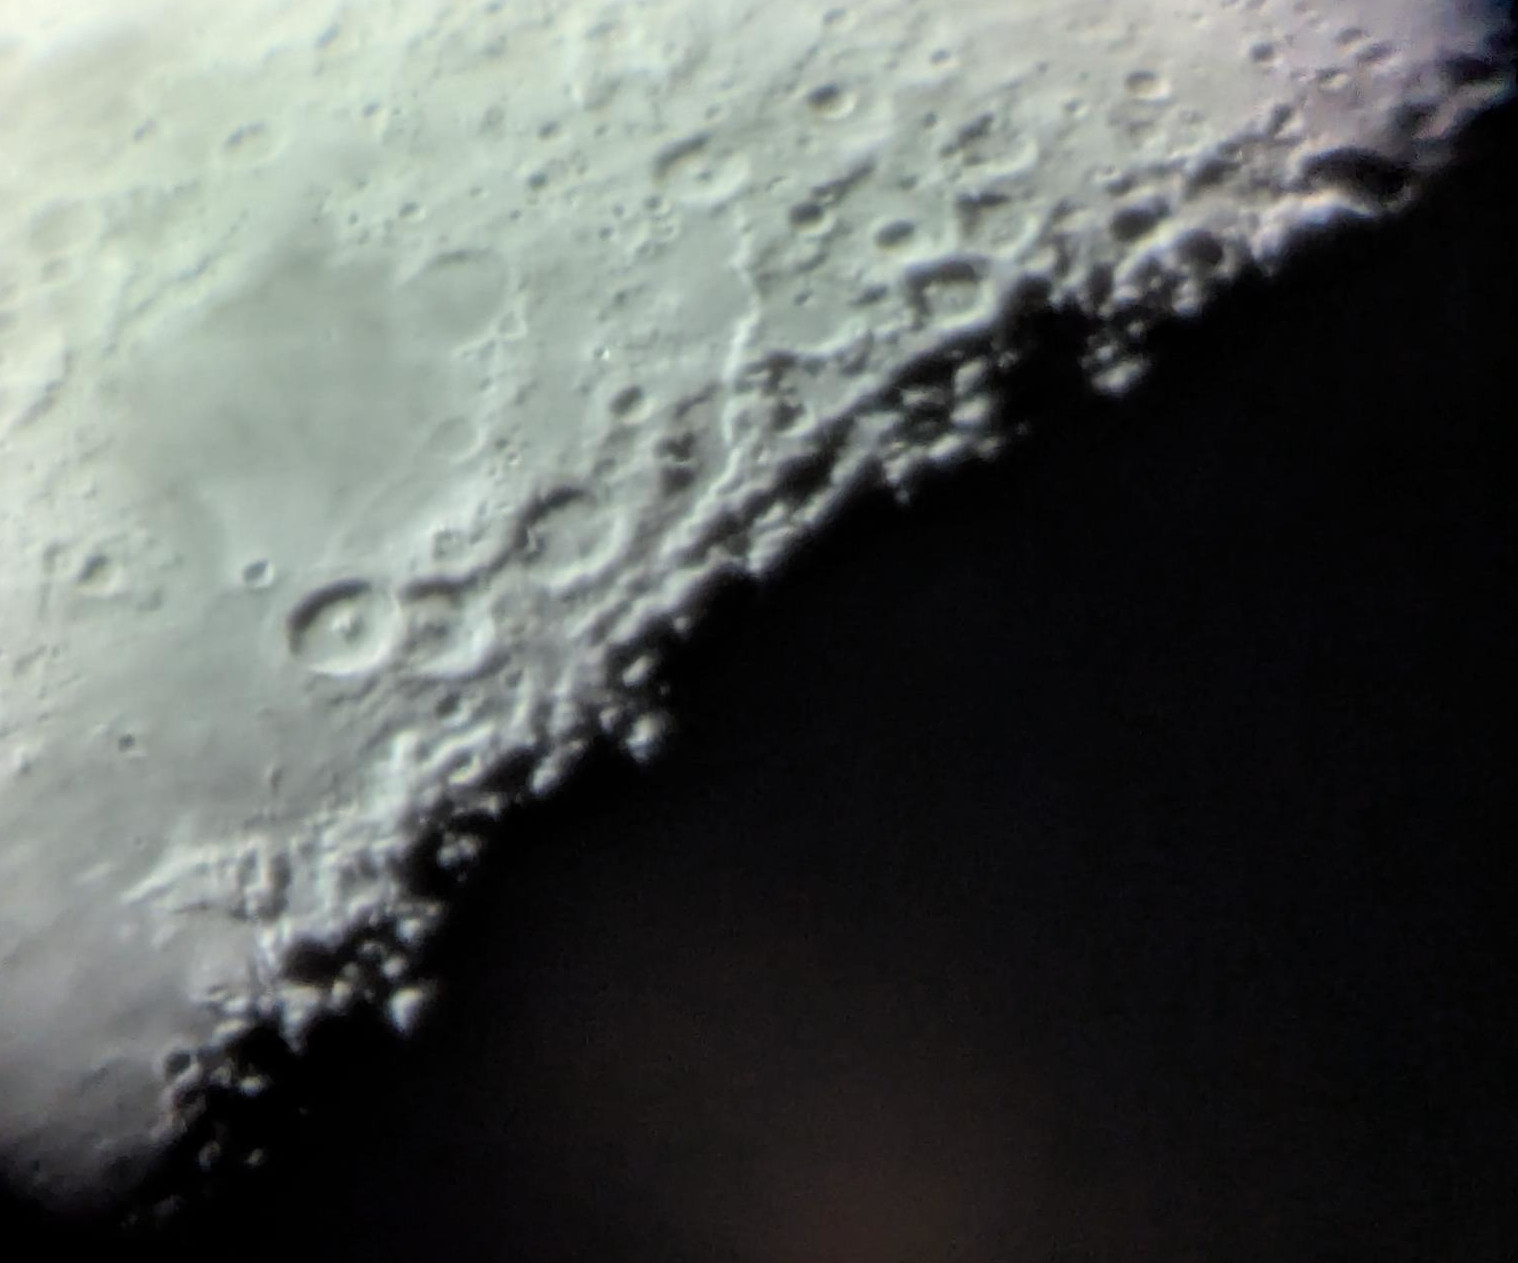
Update 2025-12-28: I was able to experiment a bit with the telescope at night while the sky was clear. Here are two photos of the descending moon during that time: