Game Boy Classic: Backlight Mod and Recapping
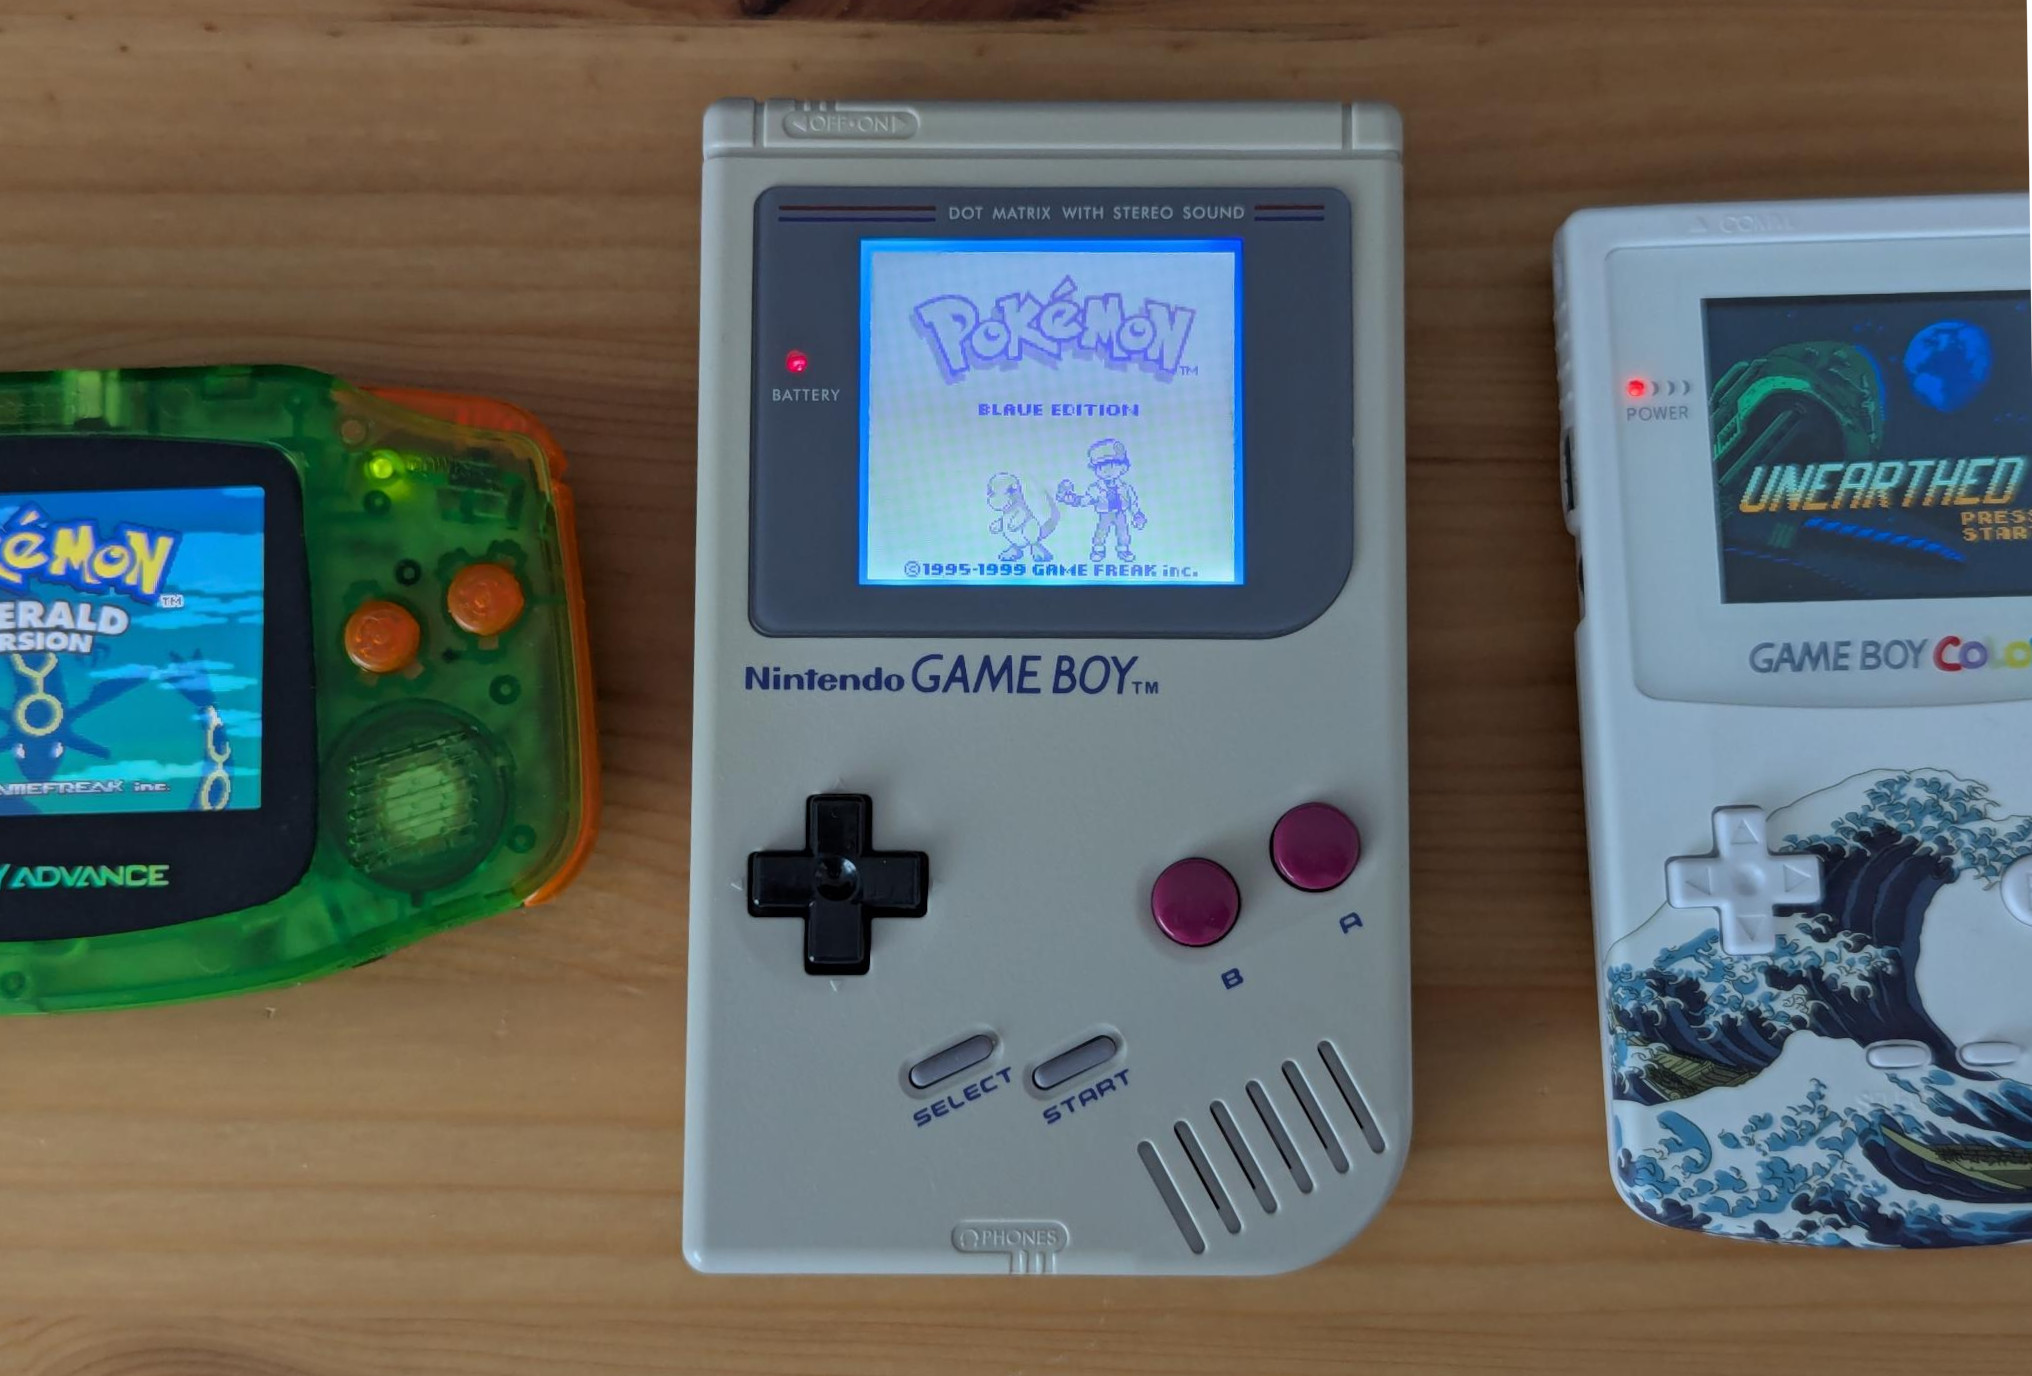
Posted on 2025-07-14 by DK1MIMy very first computer back then was a Commodore C64, then I switched to the Amiga 500 and later to the PC. I also had a Playstation 1 and 2 and a Game Boy Color when I was a teenager. However, I played less with the latter back then. For a few years now, I’ve been getting more and more interested in the old Ninendo handhelds and have also bought a Game Boy Advanced and Micro to go with my Game Boy Color. I have given both the GBC and the GBA a new case and an IPS display. What was missing was the original Game Boy DMG-01, which is why I’ve been looking for one in good condition for some time. I have now found it:

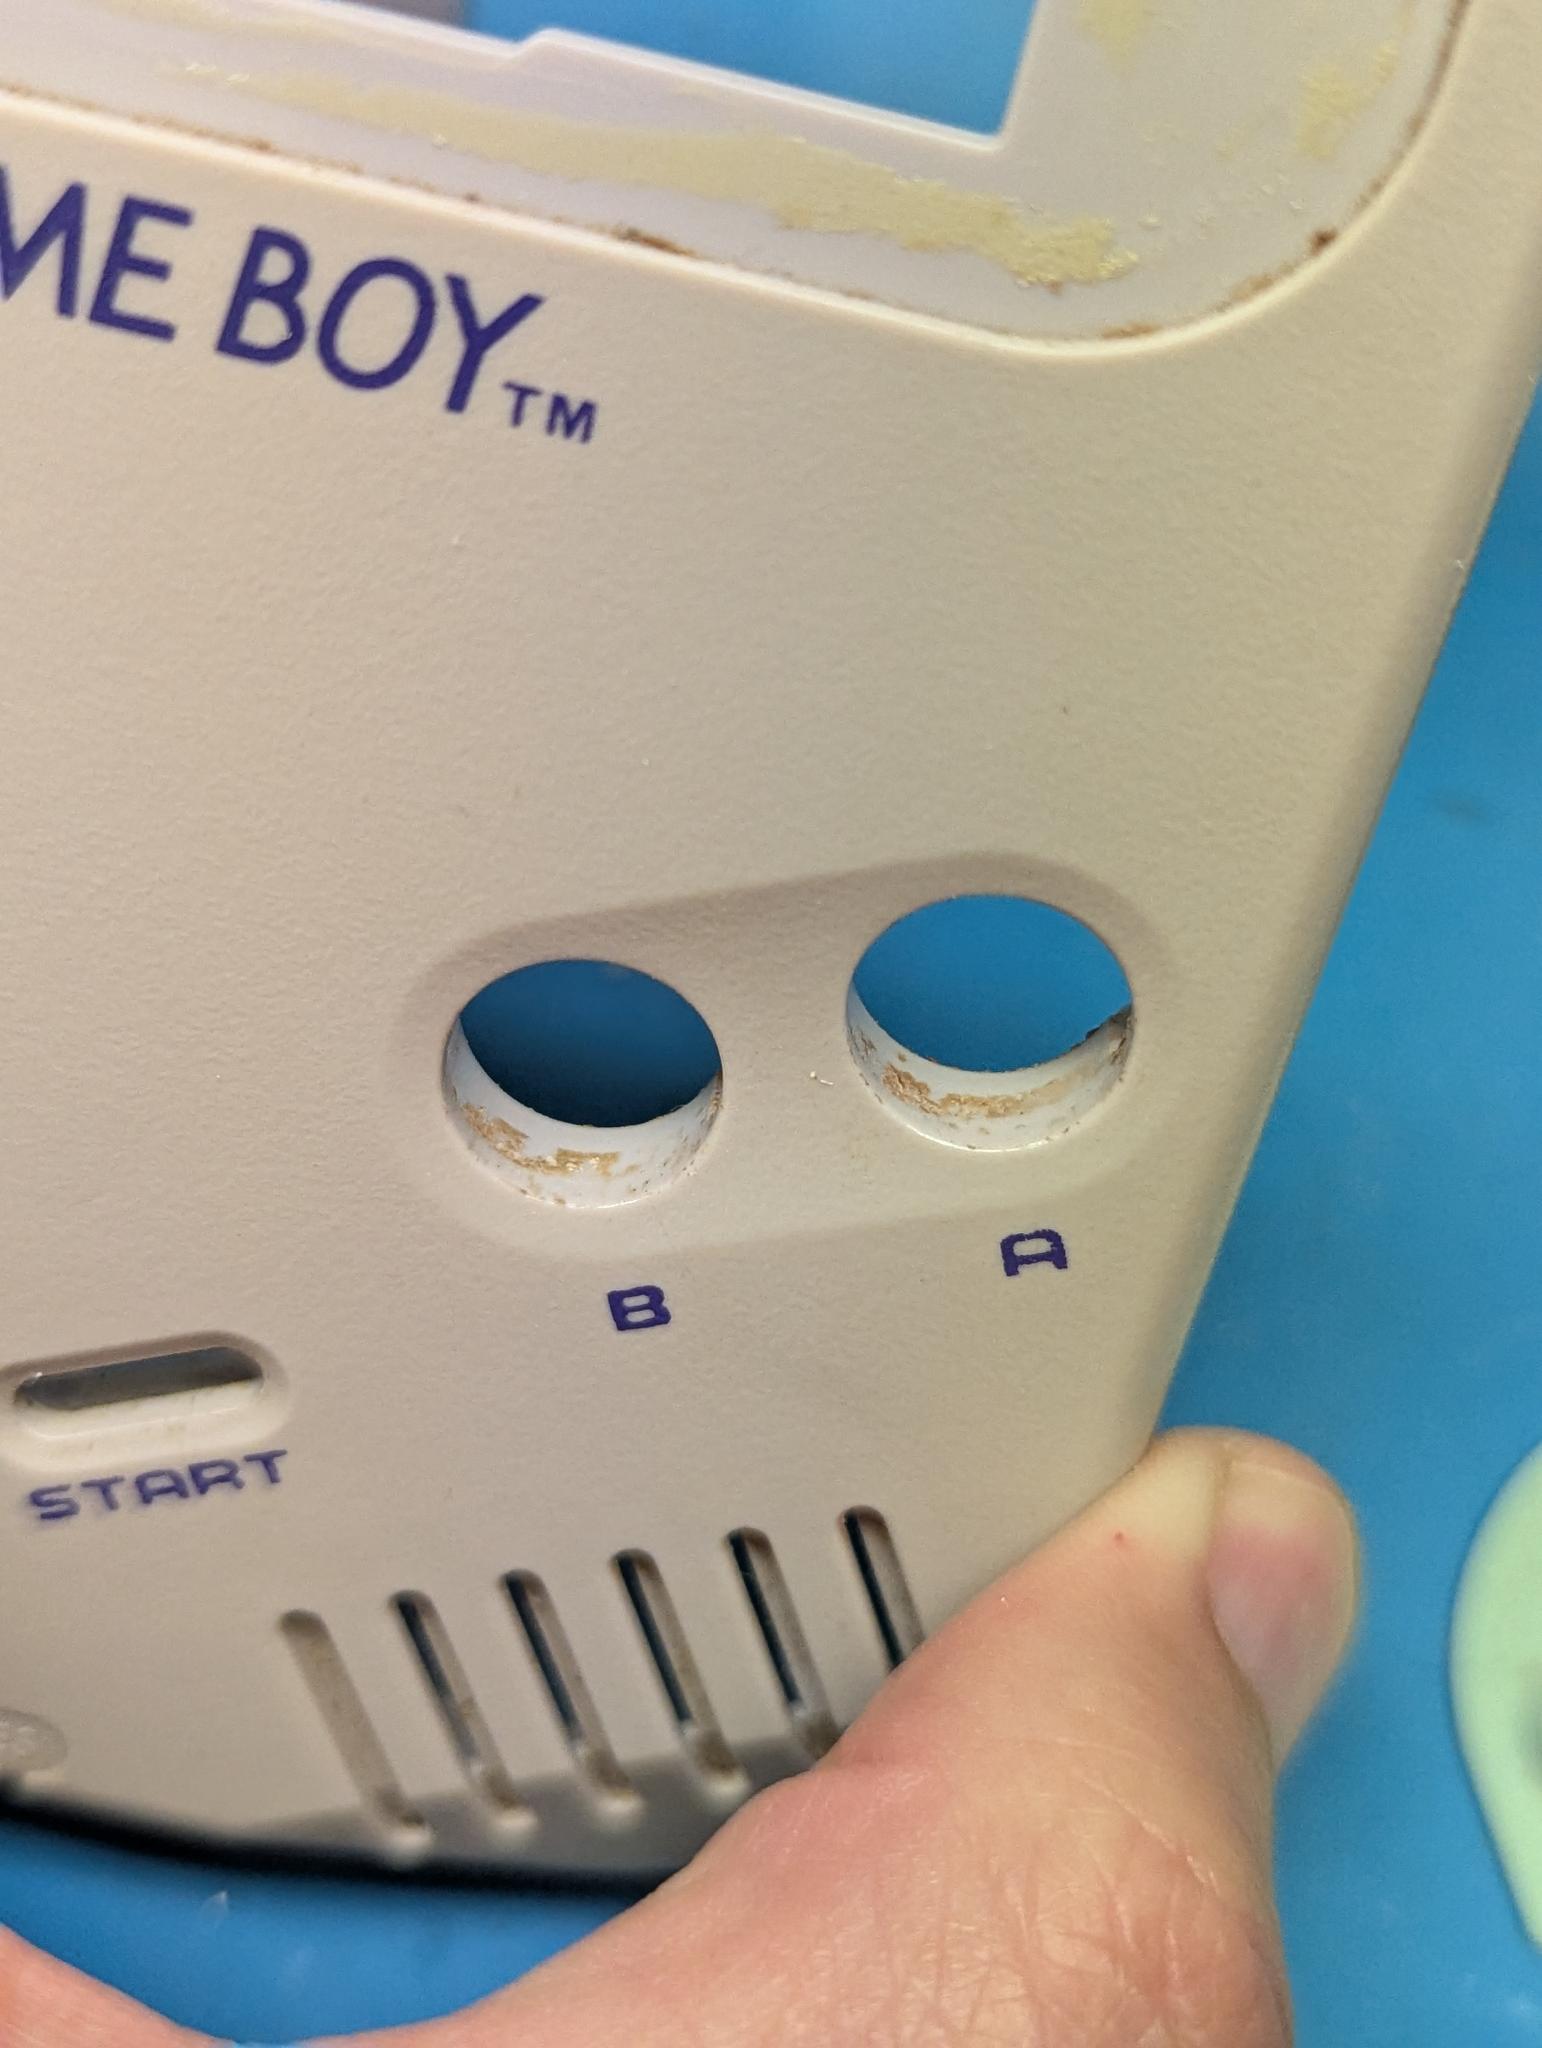
The display was still 100% in good condition, the yellowing was limited and everything else was fine. As picky as I am, I decided to take the device completely apart and clean it. I used multi-purpose cleaning foam and a toothbrush to remove the slightly nasty human residue:
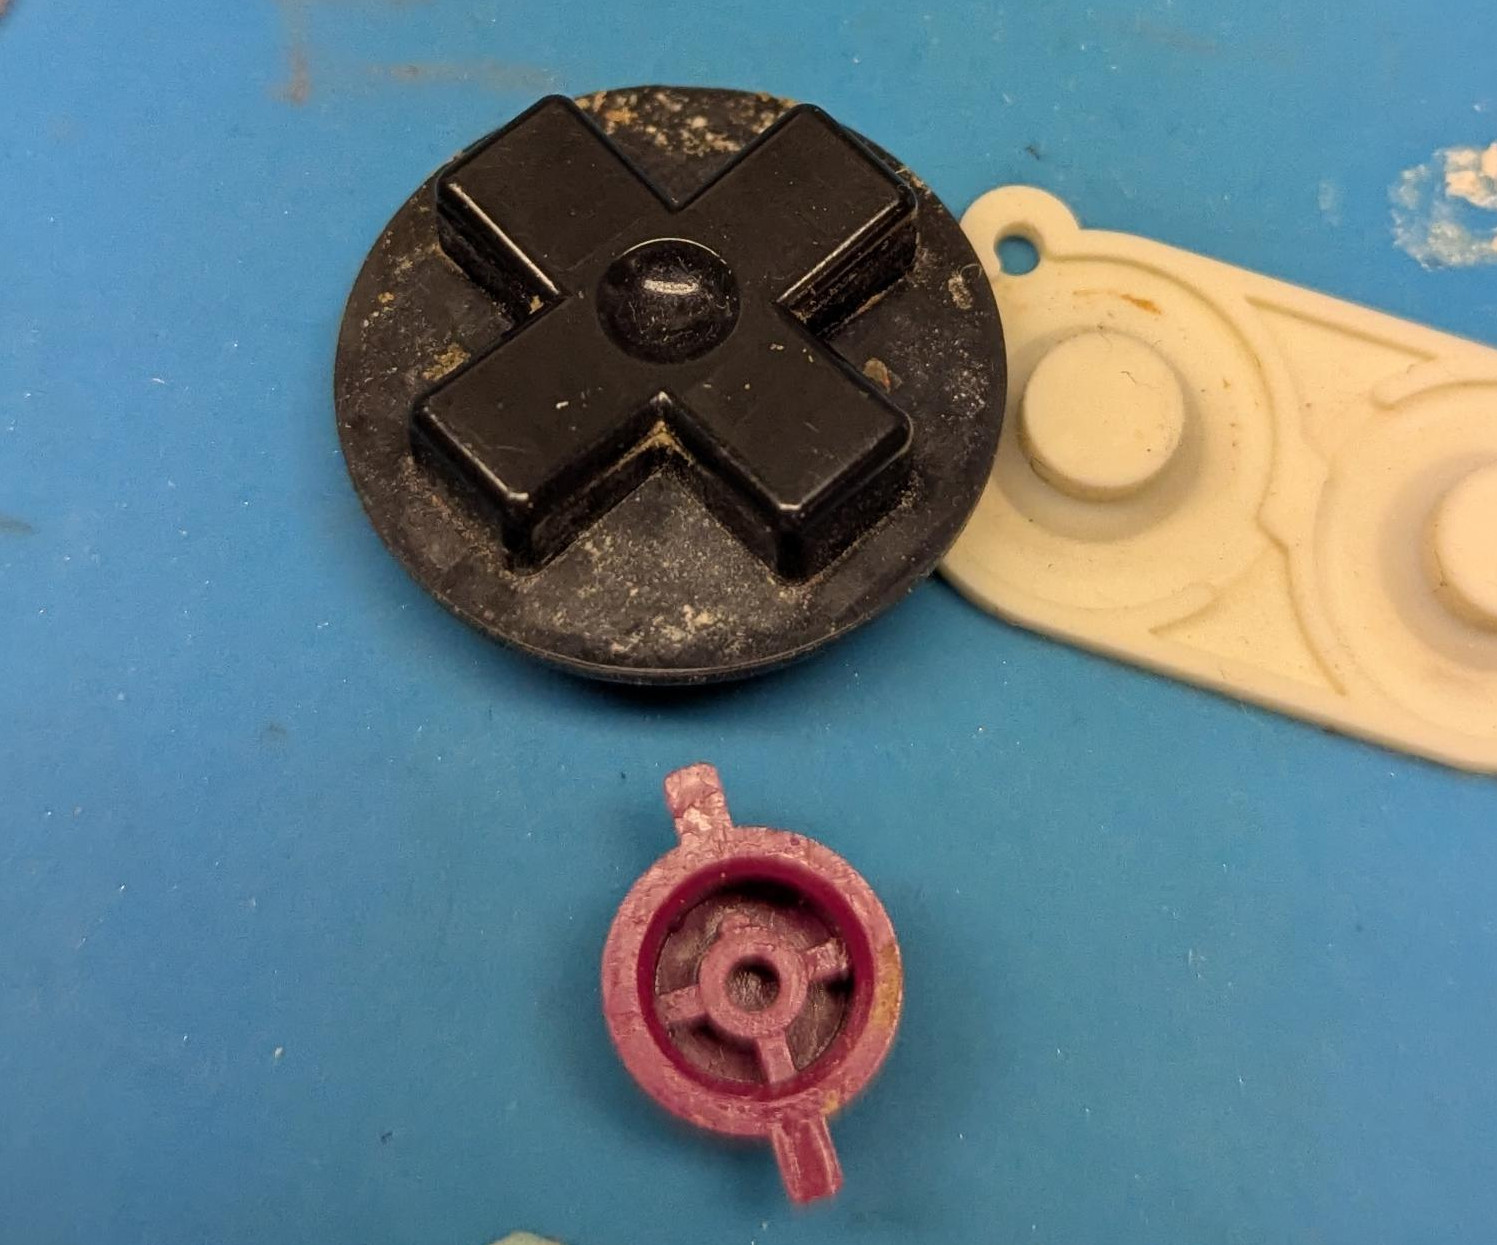
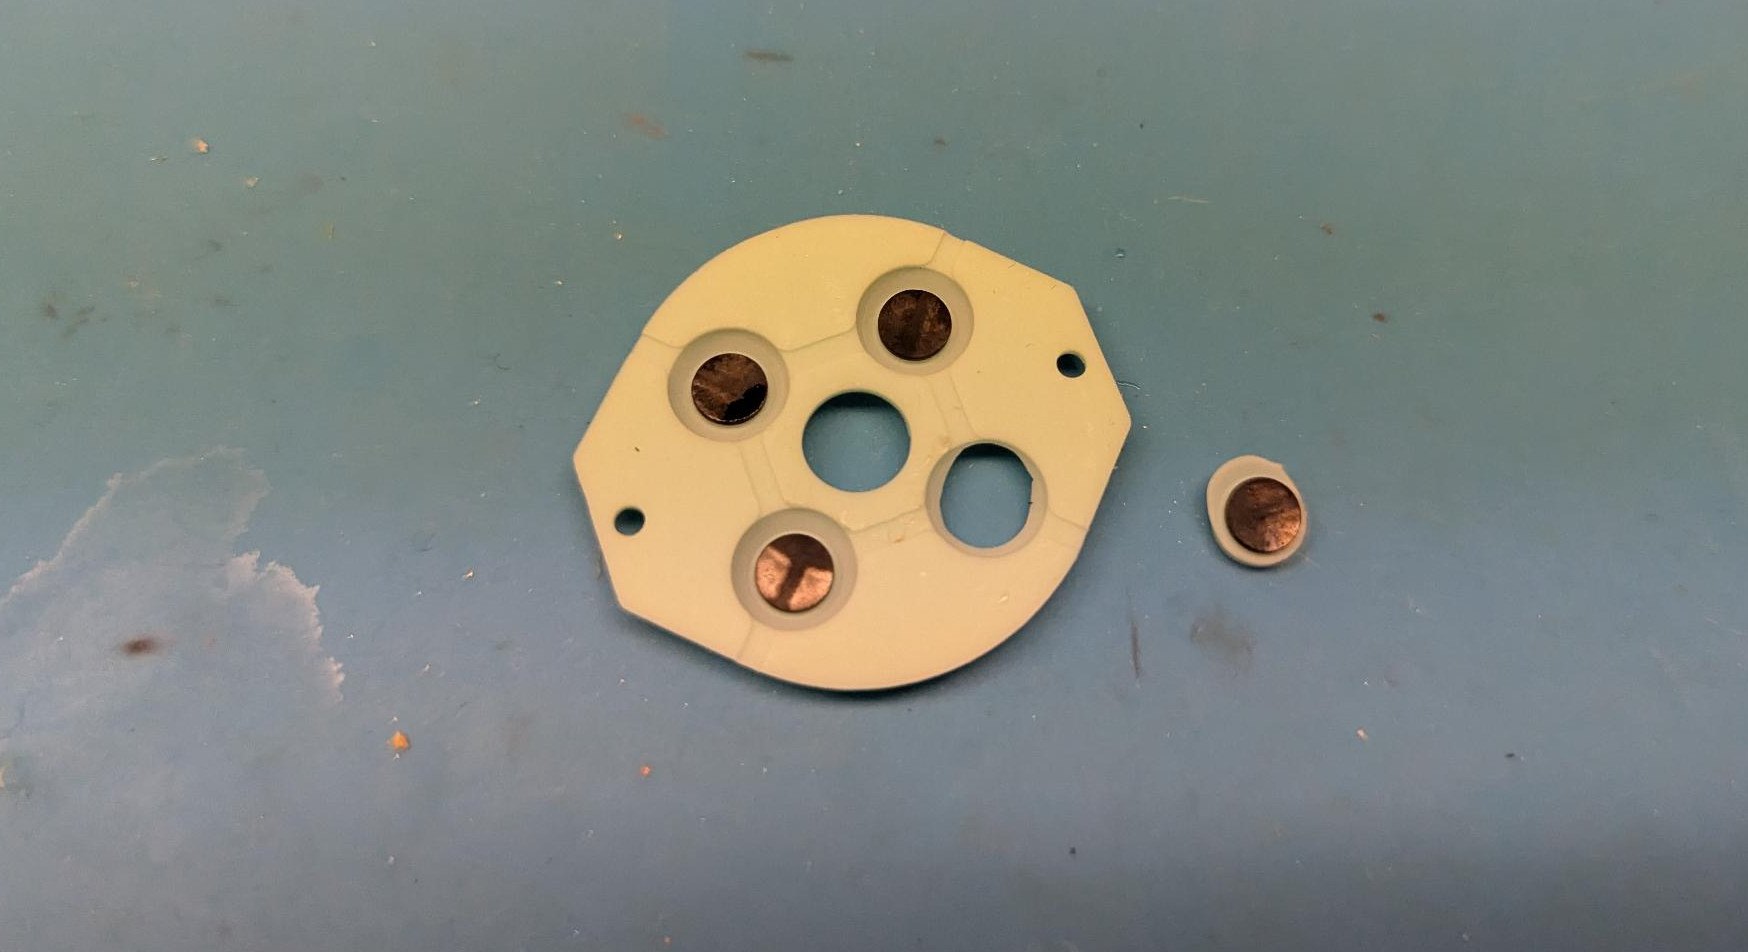
Unfortunately, when cleaning the silicone pads, the one on the d-pad broke. I therefore ordered and installed a complete set of new silicone pads.
After that, the desire for a lighted display came up, but I wanted to keep the Game Boy as original as possible. That’s why I decided against an IPS display and bought a backlight kit for very little money (<10 euros). This is cheap, but the conversion is quite nerve-wracking.
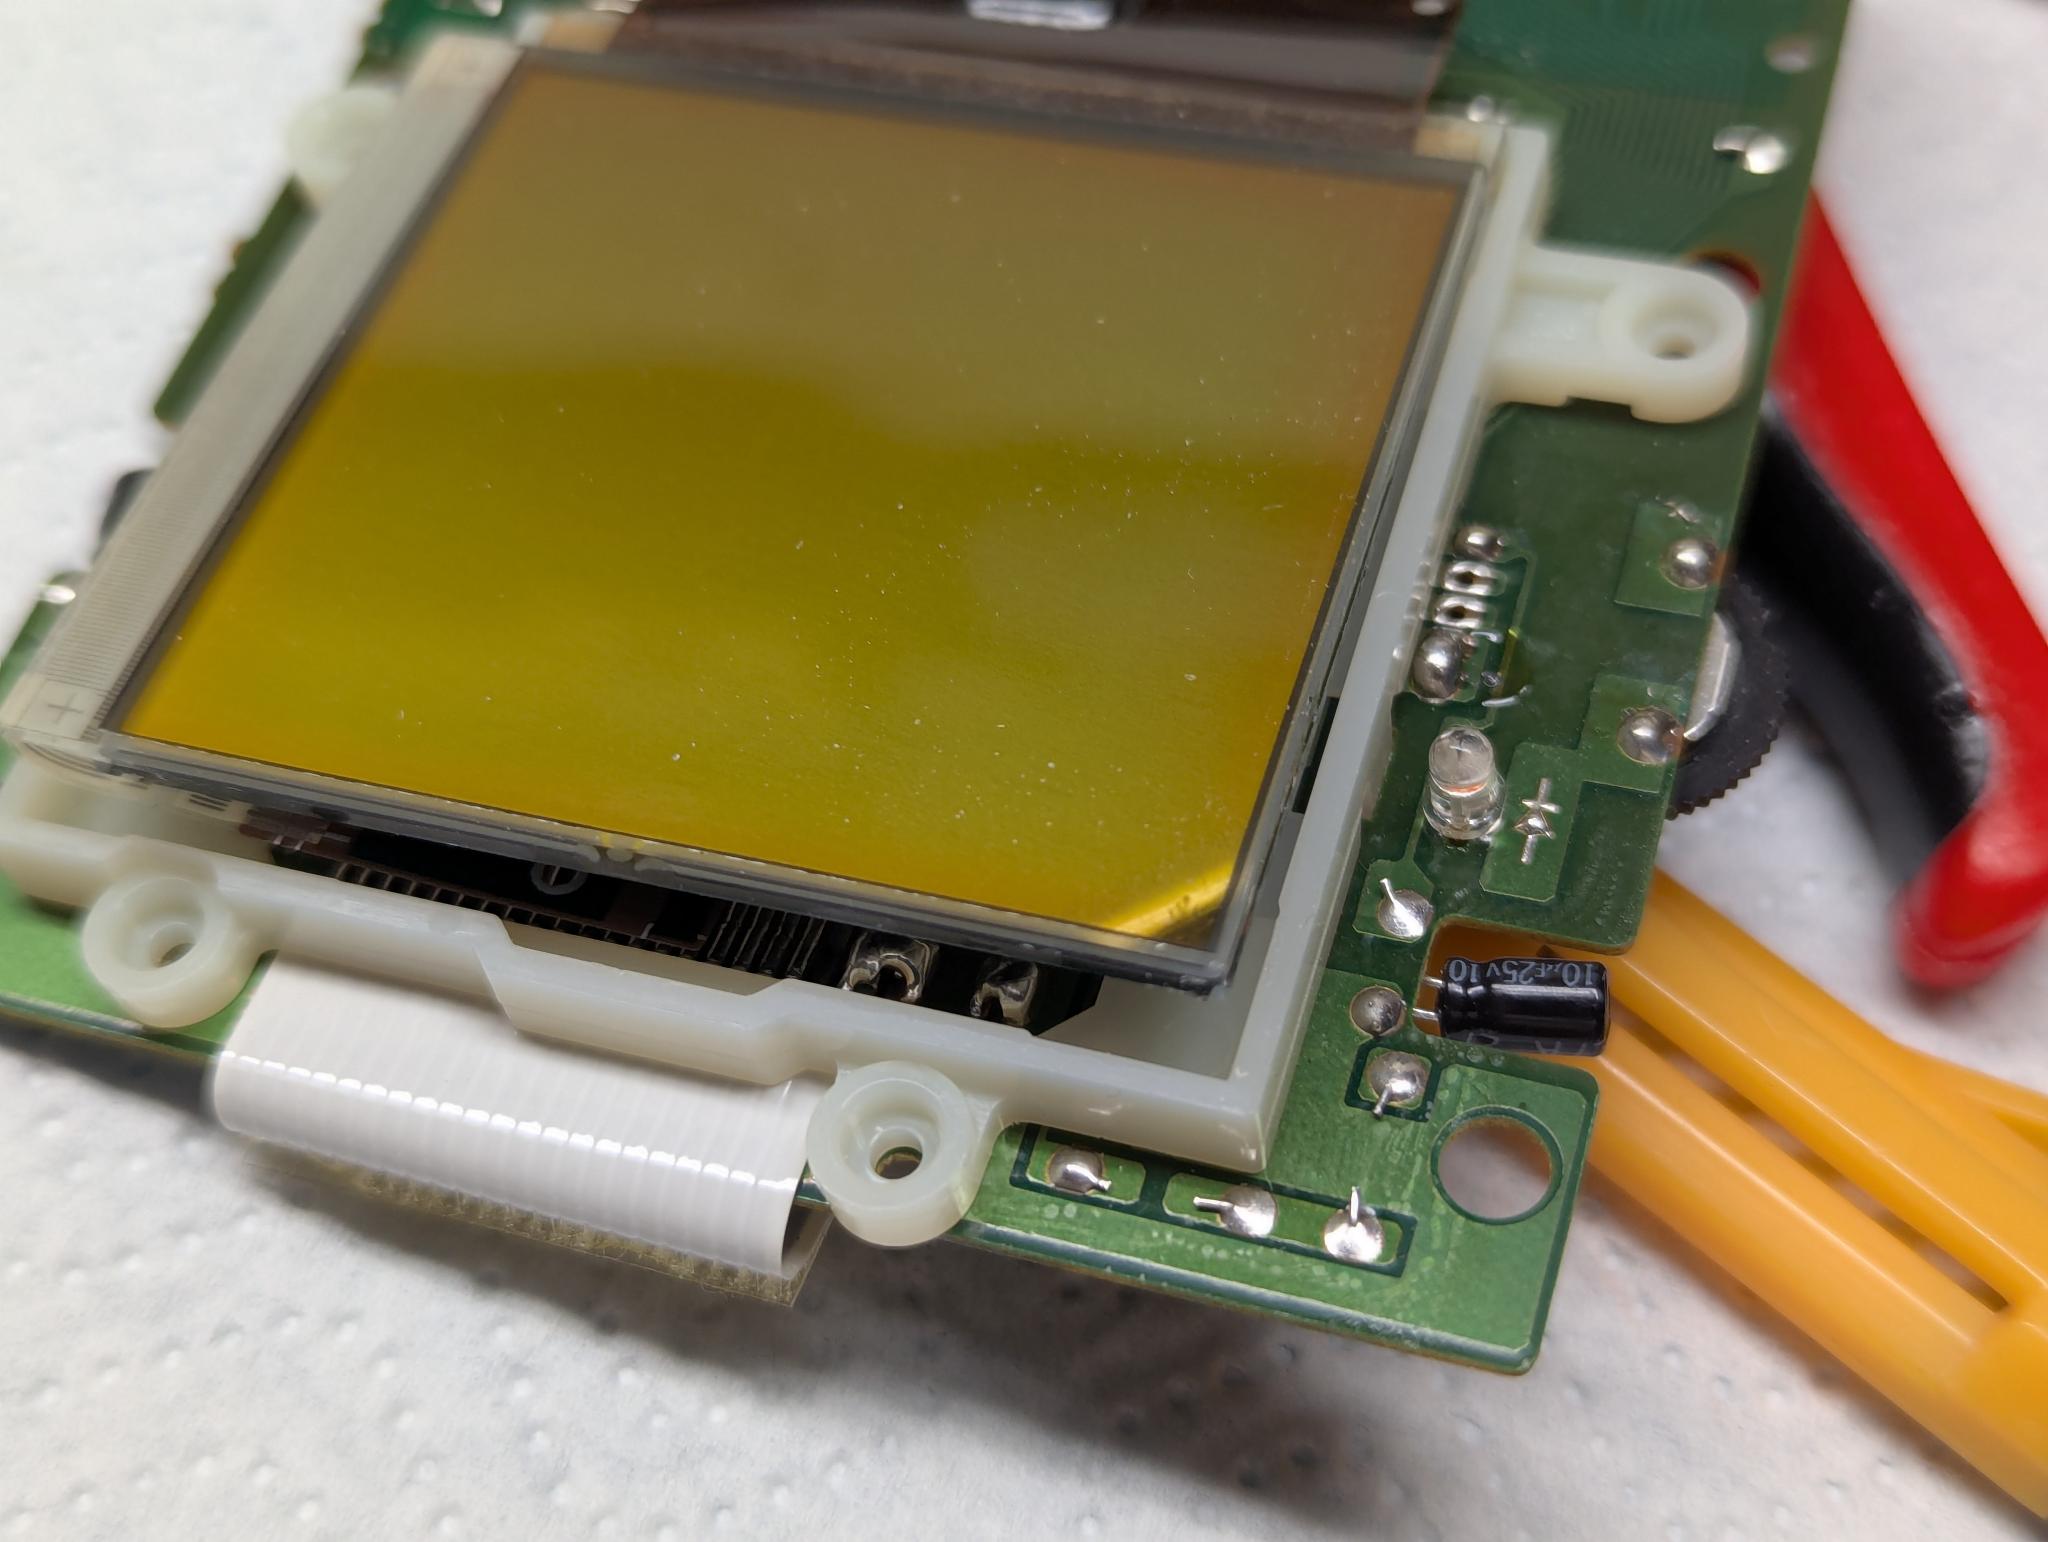
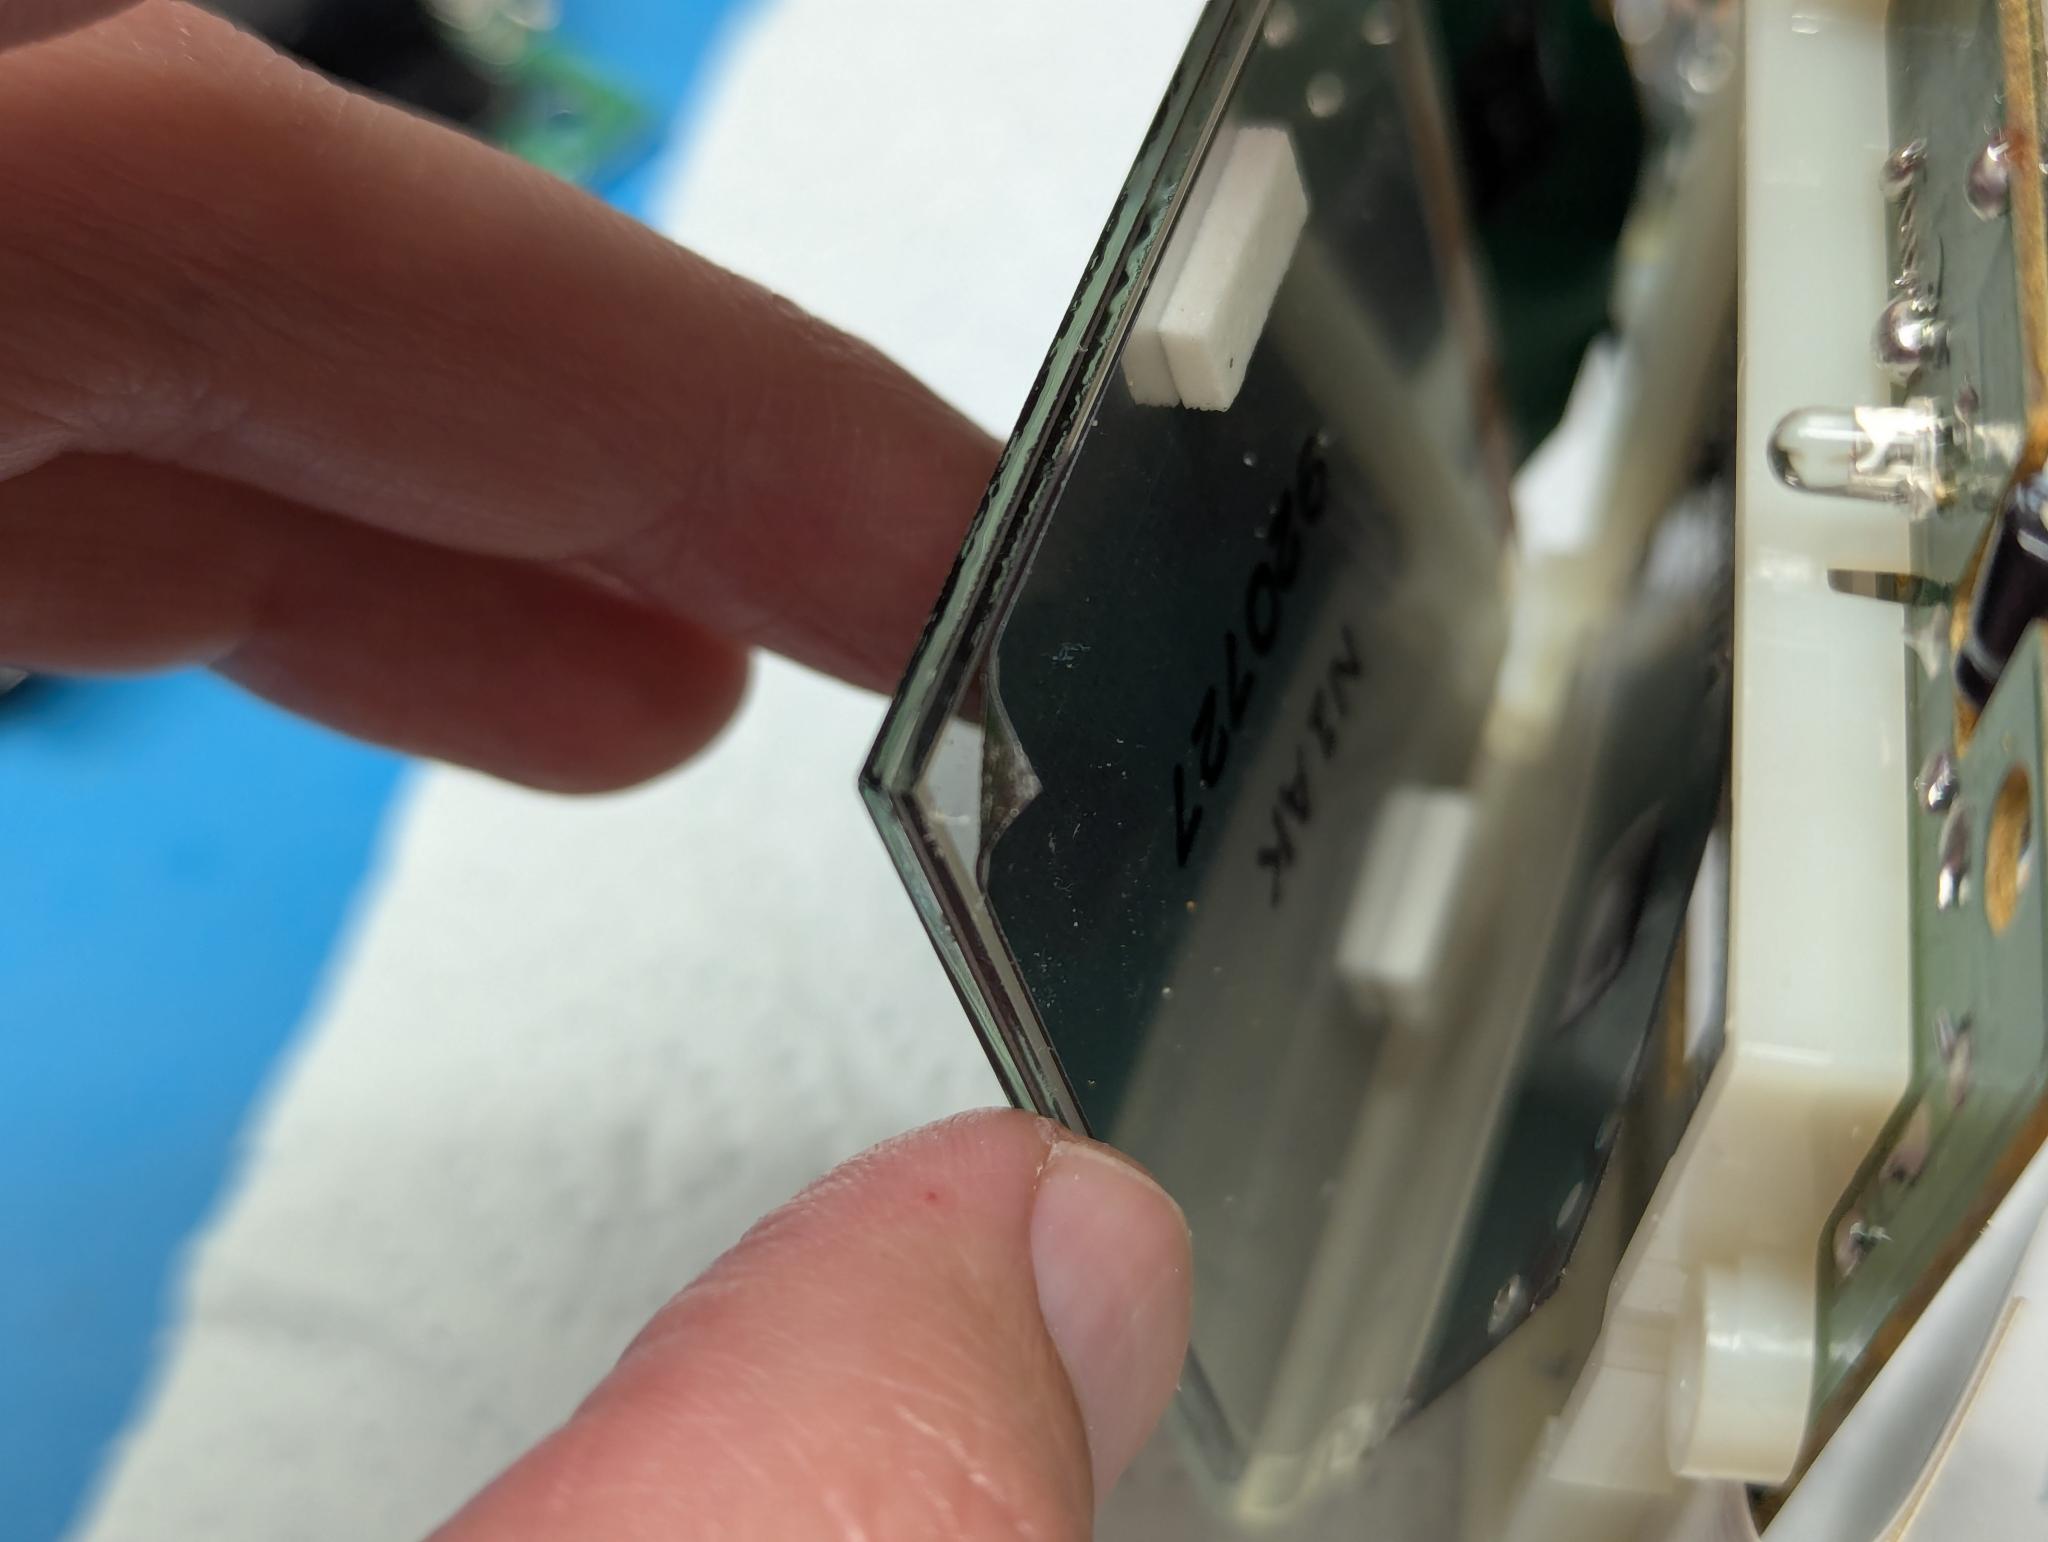
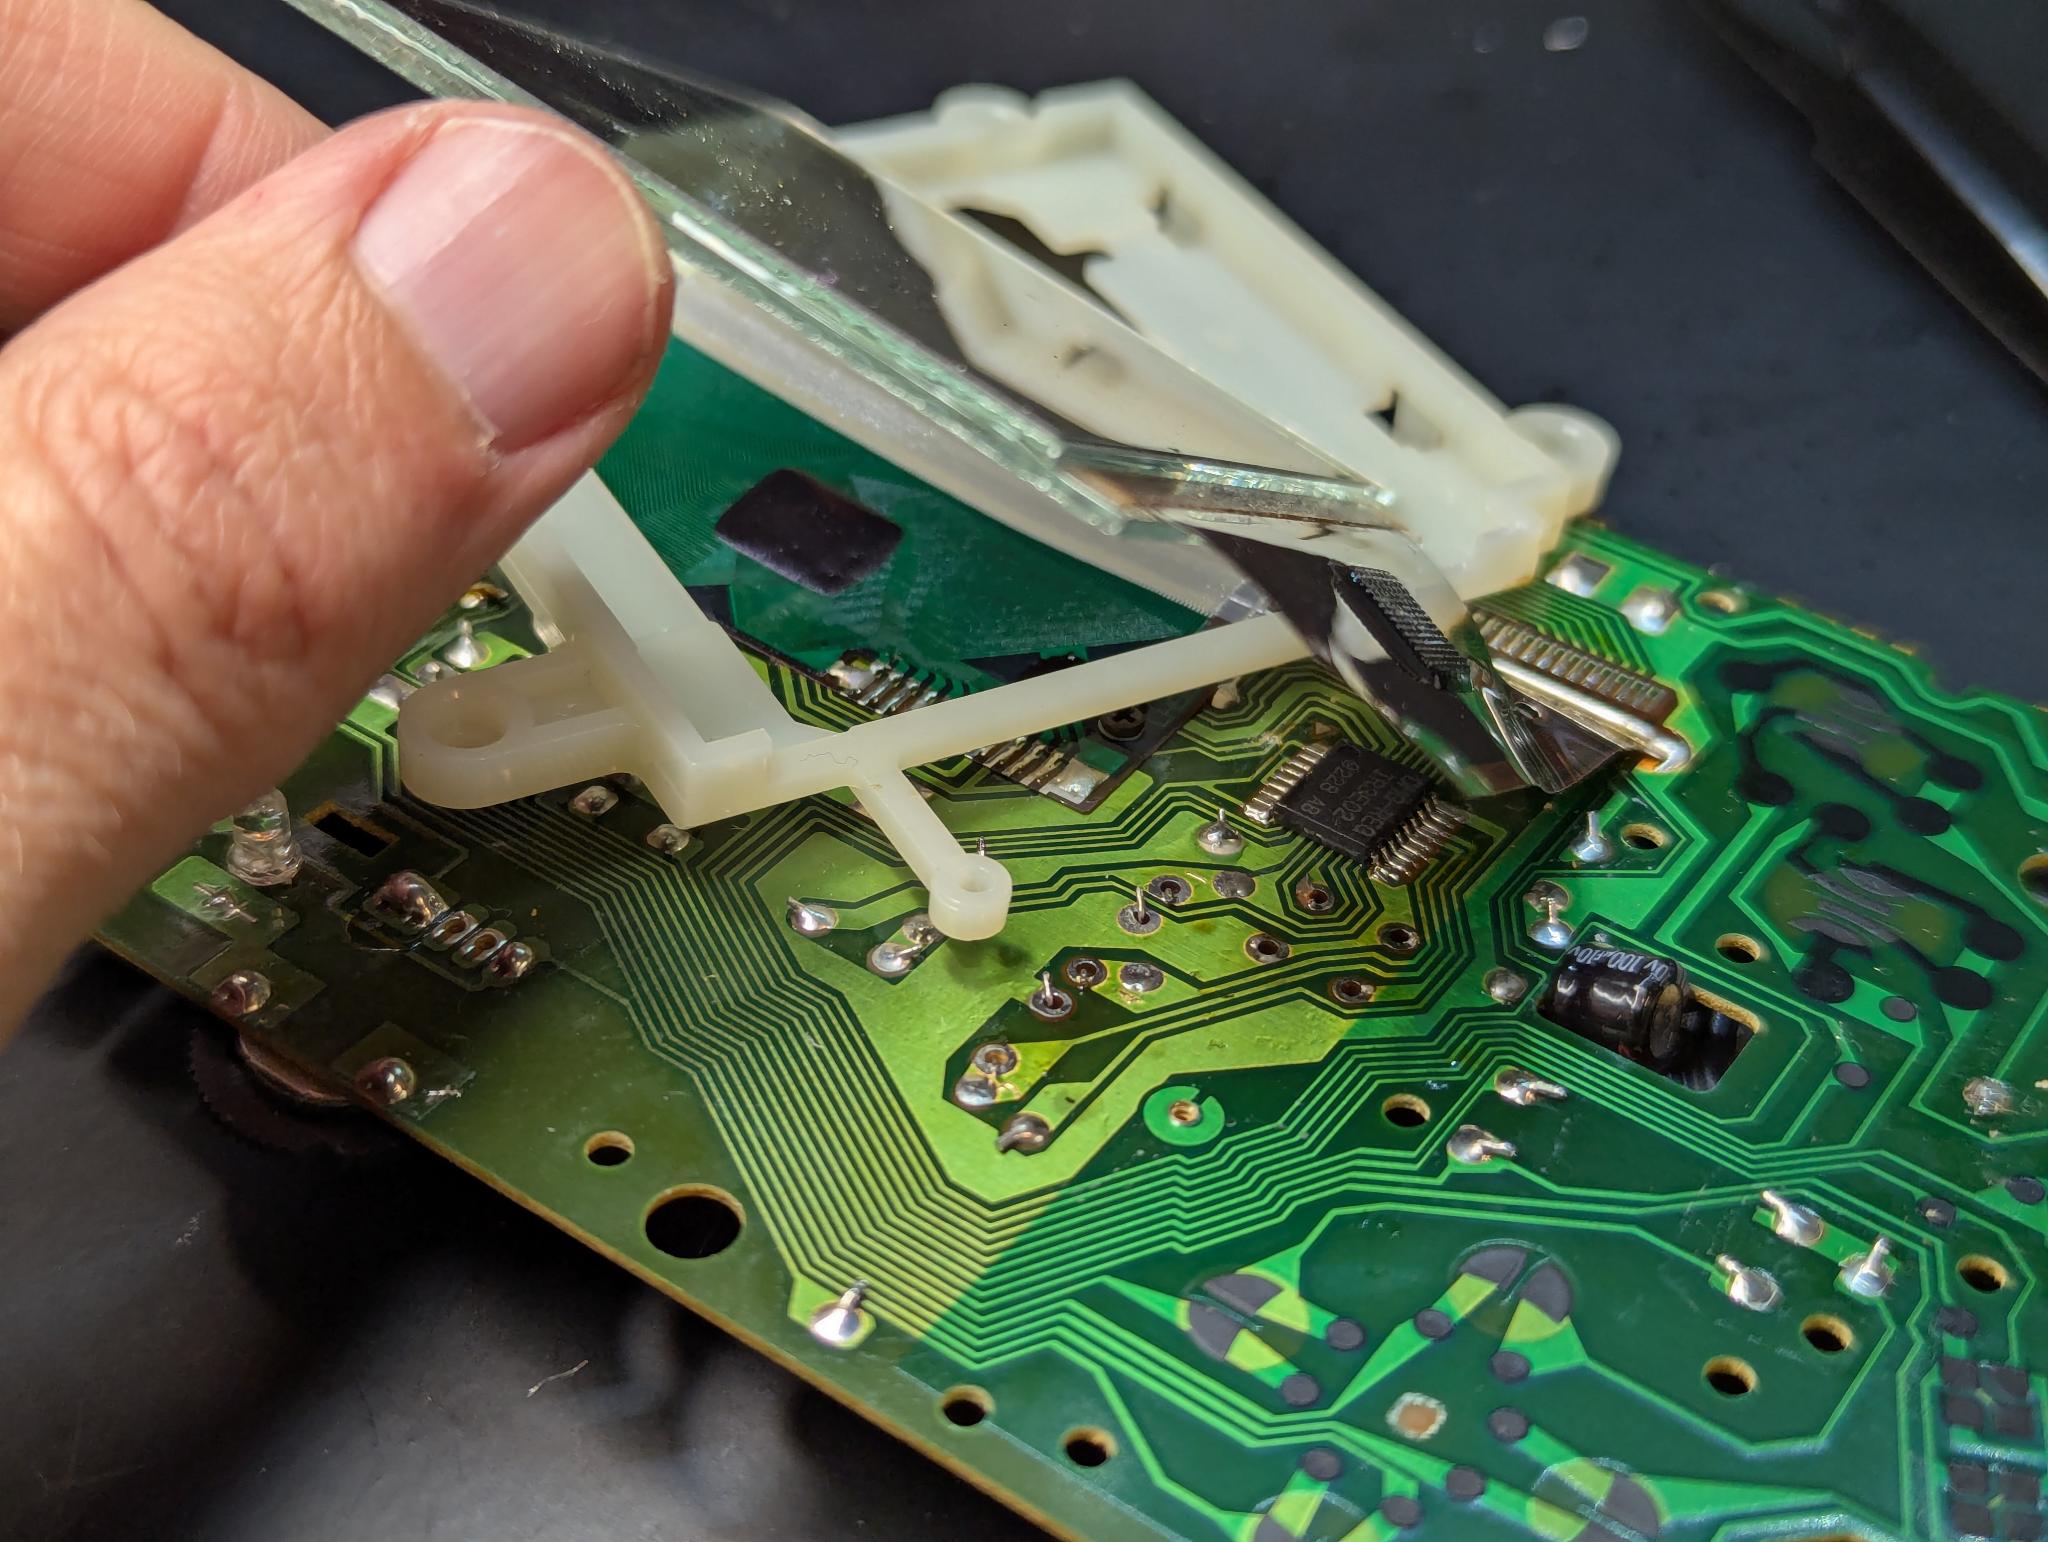
The dot-matrix display built into the DMG-01 is basically a completely transparent display with a reflective film glued on from behind. This reflects the incident light back and makes the pixels visible. The modification consists of removing this film from the display. Unfortunately, it is very firmly glued, the display is very sensitive and also connected to the front circuit board from two sides with equally sensitive ribbon cables. The cables cannot be easily detached, so you have to lift the display at an angle and then surgically remove the reflective layer with a knife and careful pulling.
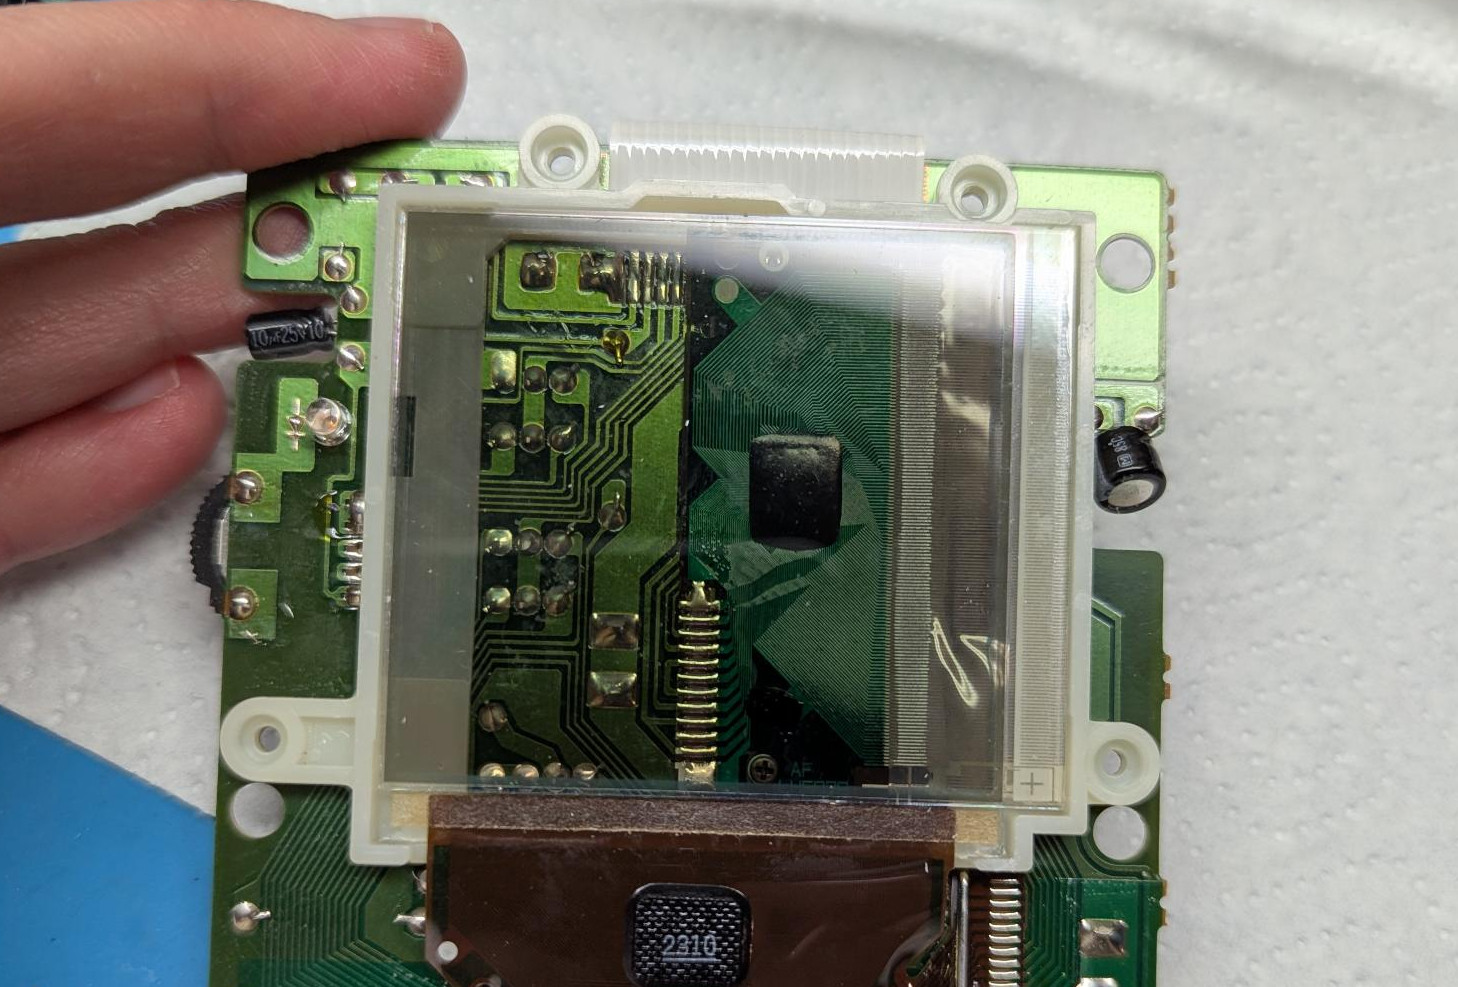
After removal, you can see the circuit board through the display:
Before continuing with the installation of the background light, it was time to think about a certain precautionary measure: the replacement of all electrolytic capacitors. These tend to leak after a few decades and then damage the device. They also lose their properties over time. Six of these capacitors have their soldering points below the display, which is why now was the best time to carry out the recapping:
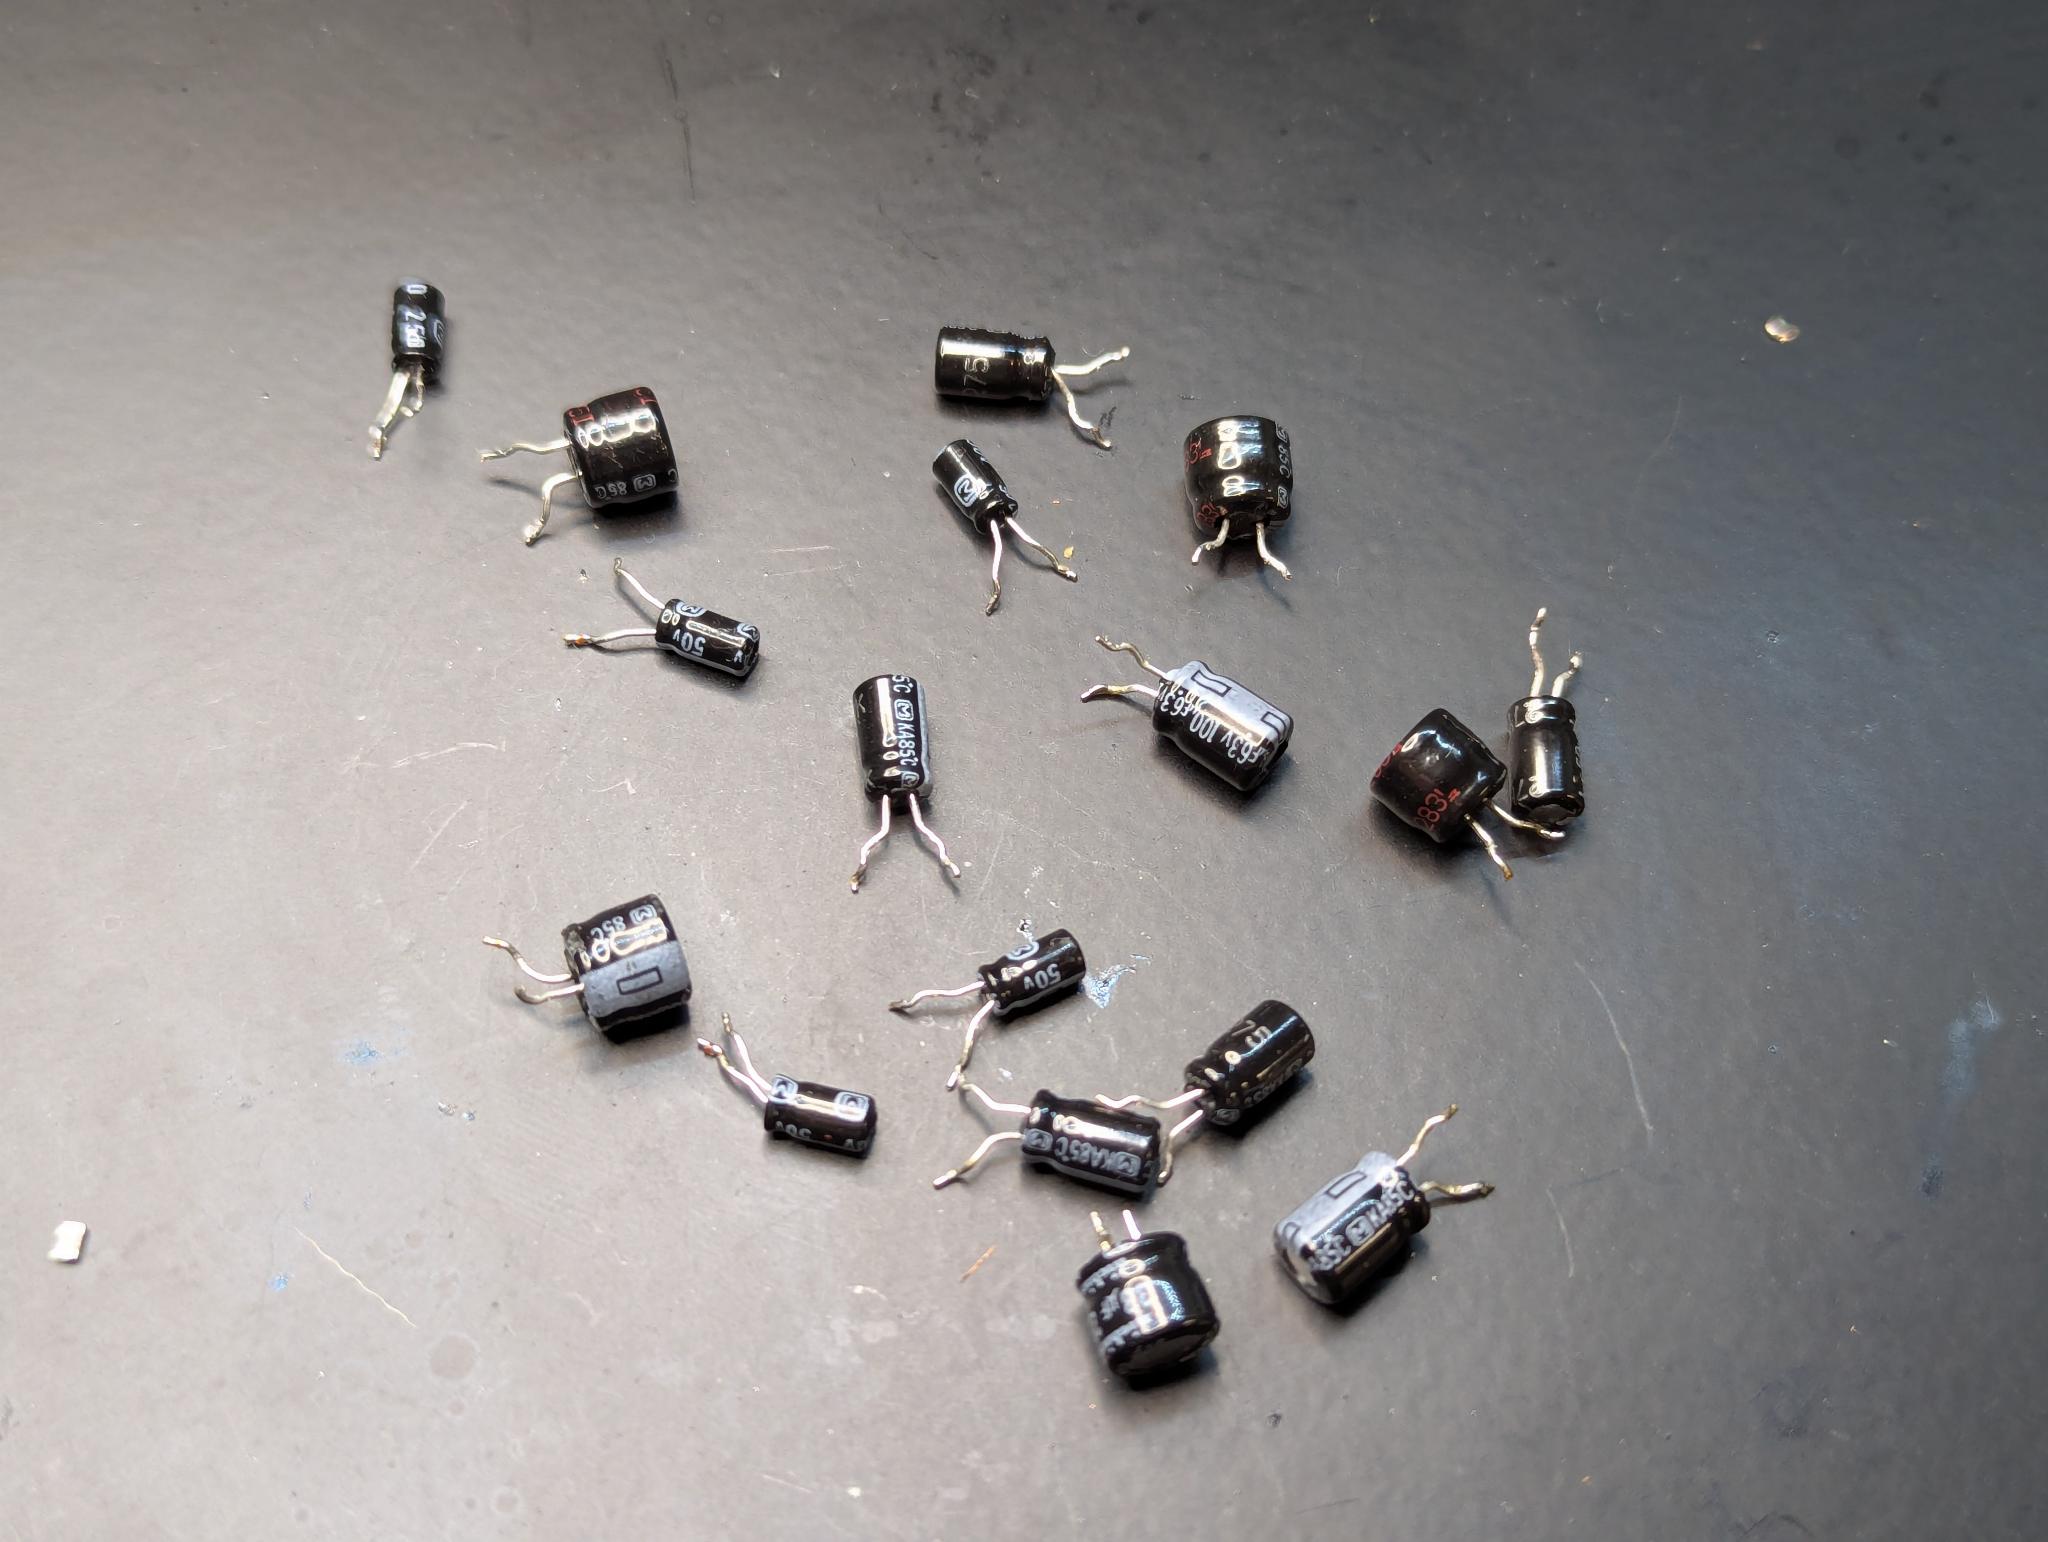
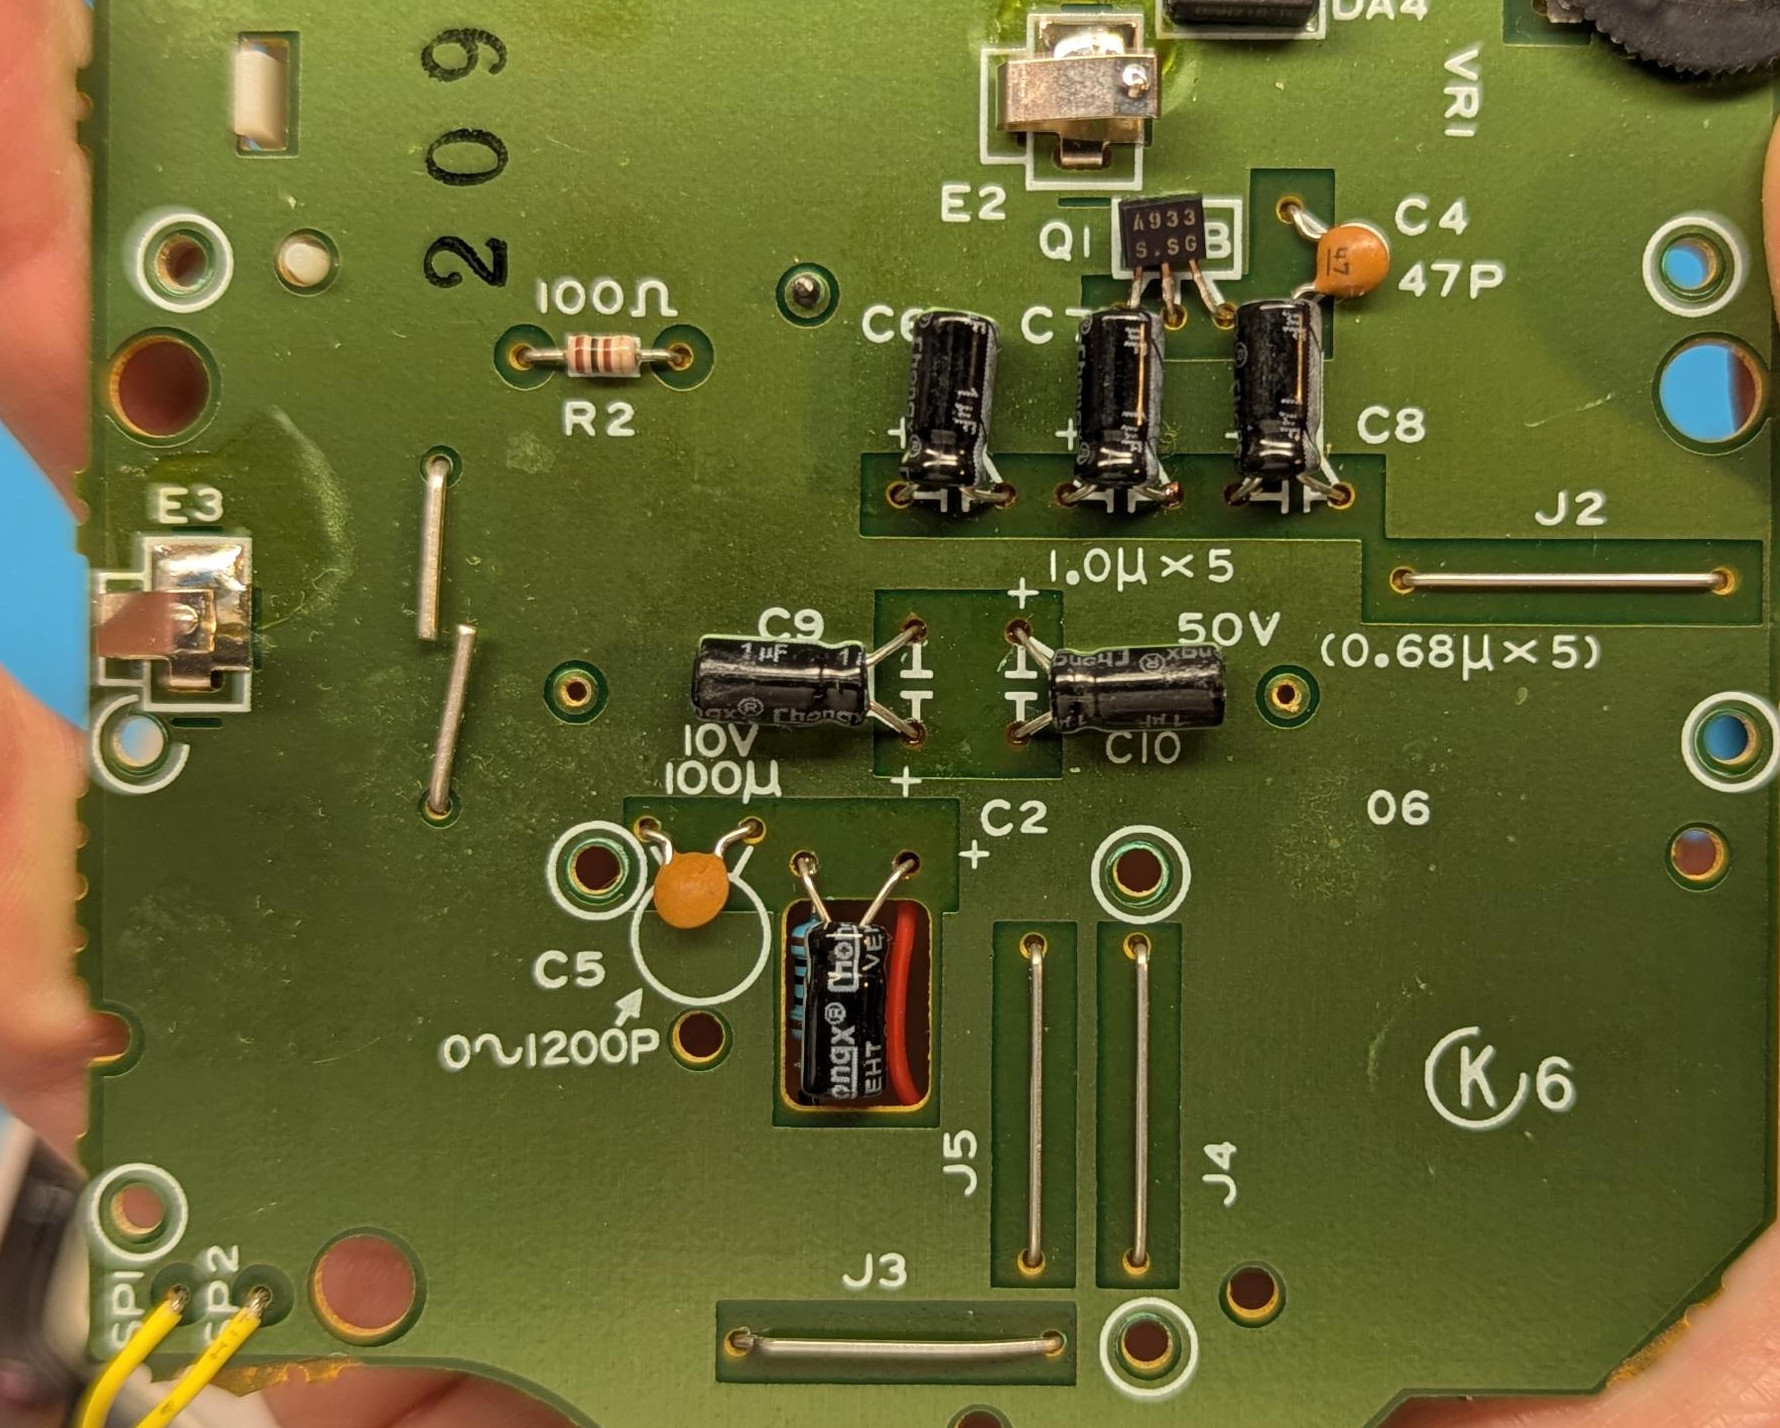
I have never seen such an exemplary detailed silkscreen as in the DMG-01. Not only is the polarity of all capacitors marked on it, but the values are also indicated:
After replacing all the capacitors, I was able to retrofit the backlight. To do this, simply insert the LED module supplied into the plastic display frame. The polarization foil, which is also included in the set, is then placed over it.
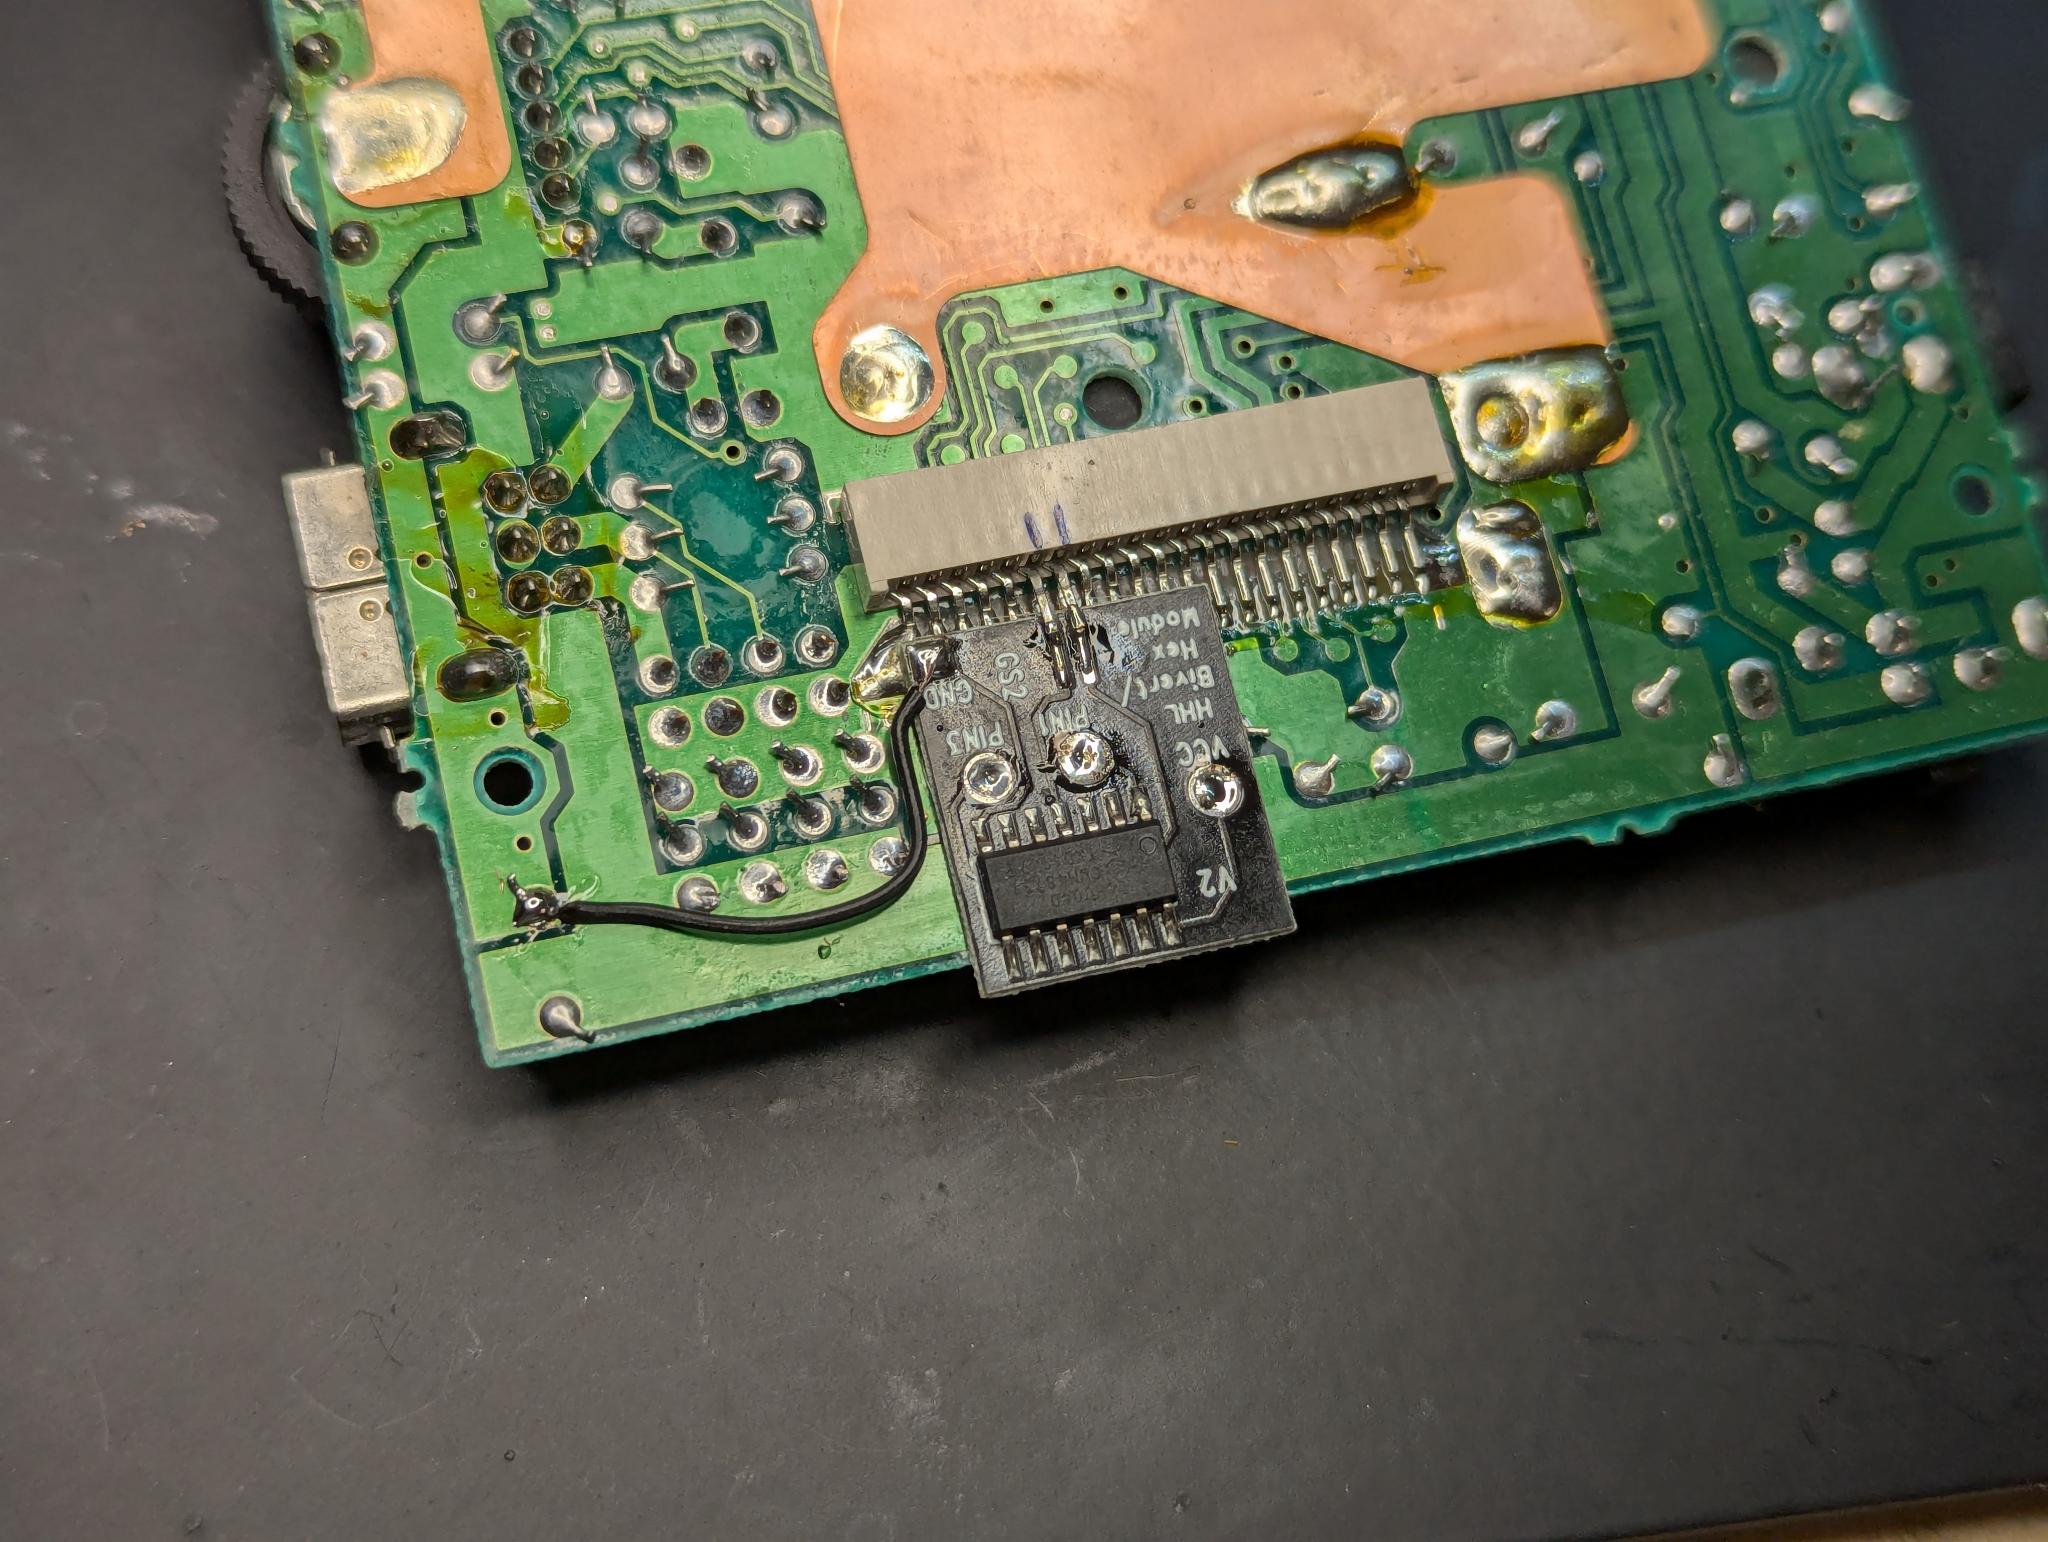
To get an even better contrast of the display, I decided to do the popular bivert mod. By installing a small circuit board directly on the ribbon cable connection on the main board, the display is inverted.
The previously mentioned polarization foil reverses this effect. What sounds nonsensical, however, leads to a greatly improved contrast, as the first test in the still disassembled state shows:

You can still see the uncut polarization foil losely put between the screen and the LED module in the above picture.
Now that everything was working, I was able to reassemble the Game Boy. At the same time, I replaced the scratched display screen with a new one. In my opinion, the result is really nice: